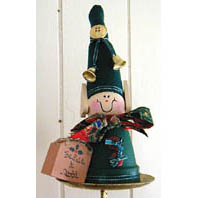
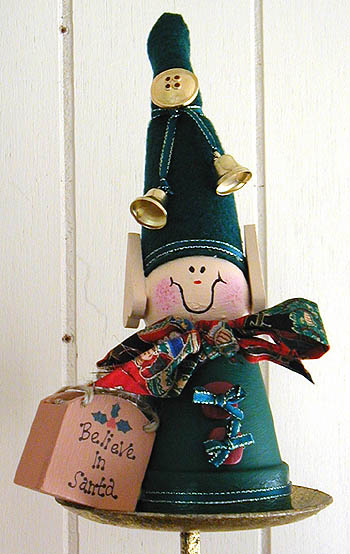
Place newspaper down on work surface. Turn clay pot over and glue wooden ball to bottom of pot. Glue hearts upside down to the sides of the wooden ball to create pointy elf ears. When glue is dry, use large paint brush to paint the outside of the clay pot green and the entire wooden ball and ears with flesh colored paint. Let dry and apply a second coat.
Body - Tie ribbon around the neck, fashion a bow and trim ends. Thread thin green ribbon through the button holes and tie bows, trim ends. Glue buttons to the front of the clay pot. Spread a thin coat of white craft glue around the bottom rim of the clay pot, place a border of thin green ribbon all the way around the bottom of the pot. Glue purchased "Believe in Santa" bag, or other embellishment, to the side of the body.
Hat - Cut a tall triangle out of green felt. Apply some glue to the elf's forehead. Position the bottom of the felt triangle over the glue. Wrap around to the back of the head. Glue in place. Glue back seam of the felt together, bring to a point at the top (trim if needed to make it fit). Gently tie a piece of thin green ribbon around the top of the hat, about an inch from the top. Tie in a know loosely so that it does not bunch together. Carefully thread bells onto the ends of the ribbon that you just tied in place. Tie bells on and adjust height. Tighten knots and trim ends off. Glue a gold button above the ribbon. Position a piece of thin green ribbon around the brim of the hat (see photo) and glue in place.
Face - Using a small sponge, gently dab on a thin amount of pink for the cheeks. Use black paint to dot on eyes and put on mouth. Use red paint for the nose. You may also sponge on a small amount of red over the pink cheeks if the pink is too light.
Alternate ideas: Make several elves using 2 different flower pots and stage them next to each other, maybe near a small Christmas Tree.
Using red and white striped bendable straws fashion them under the clay pot in such a way that they look like the elf's legs. Add a bit of your green felt leftovers to form his shoes.
Add a few mini candy canes into your elf's little package.
Use mini candy canes as legs for your Christmas Elf craft.

Here are some other cute Crafty Christmas Elves to inspire your creativity.

Candy Cane Elf Christmas Ornament, This little Christmas elf cleverly uses candy canes. Kathy's pattern calls for artificial candy canes but you could use real candy canes or fashion your own candy canes using pipe cleaners or tinsel stems. You can find mini christmas hats online , or create your own using felt. The googly eyes are such a great touch. They give him a fun facial expression. And the addition of cute little jingle bells on the shoes are the perfect finishing touch.

Pinecone Christmas Elf Craft, These adorabble little Christmas elves were made from things you probably have around the house. The hat, scarf, hands and feet appear to be made from felt but there's no reason you couldn't make them from fabric or Christmas print ribbon. Their arms and legs are made using pipe cleaners but it would be easy to use twigs instead. For each elf's head you could use marbles, make a ball out of clay, or use wooden doll heads.
 1 1/2" Wooden Ball or Wooden Snowman Head
 2" Wooden Flower Pot
 2" Paper Mache Flower Pot
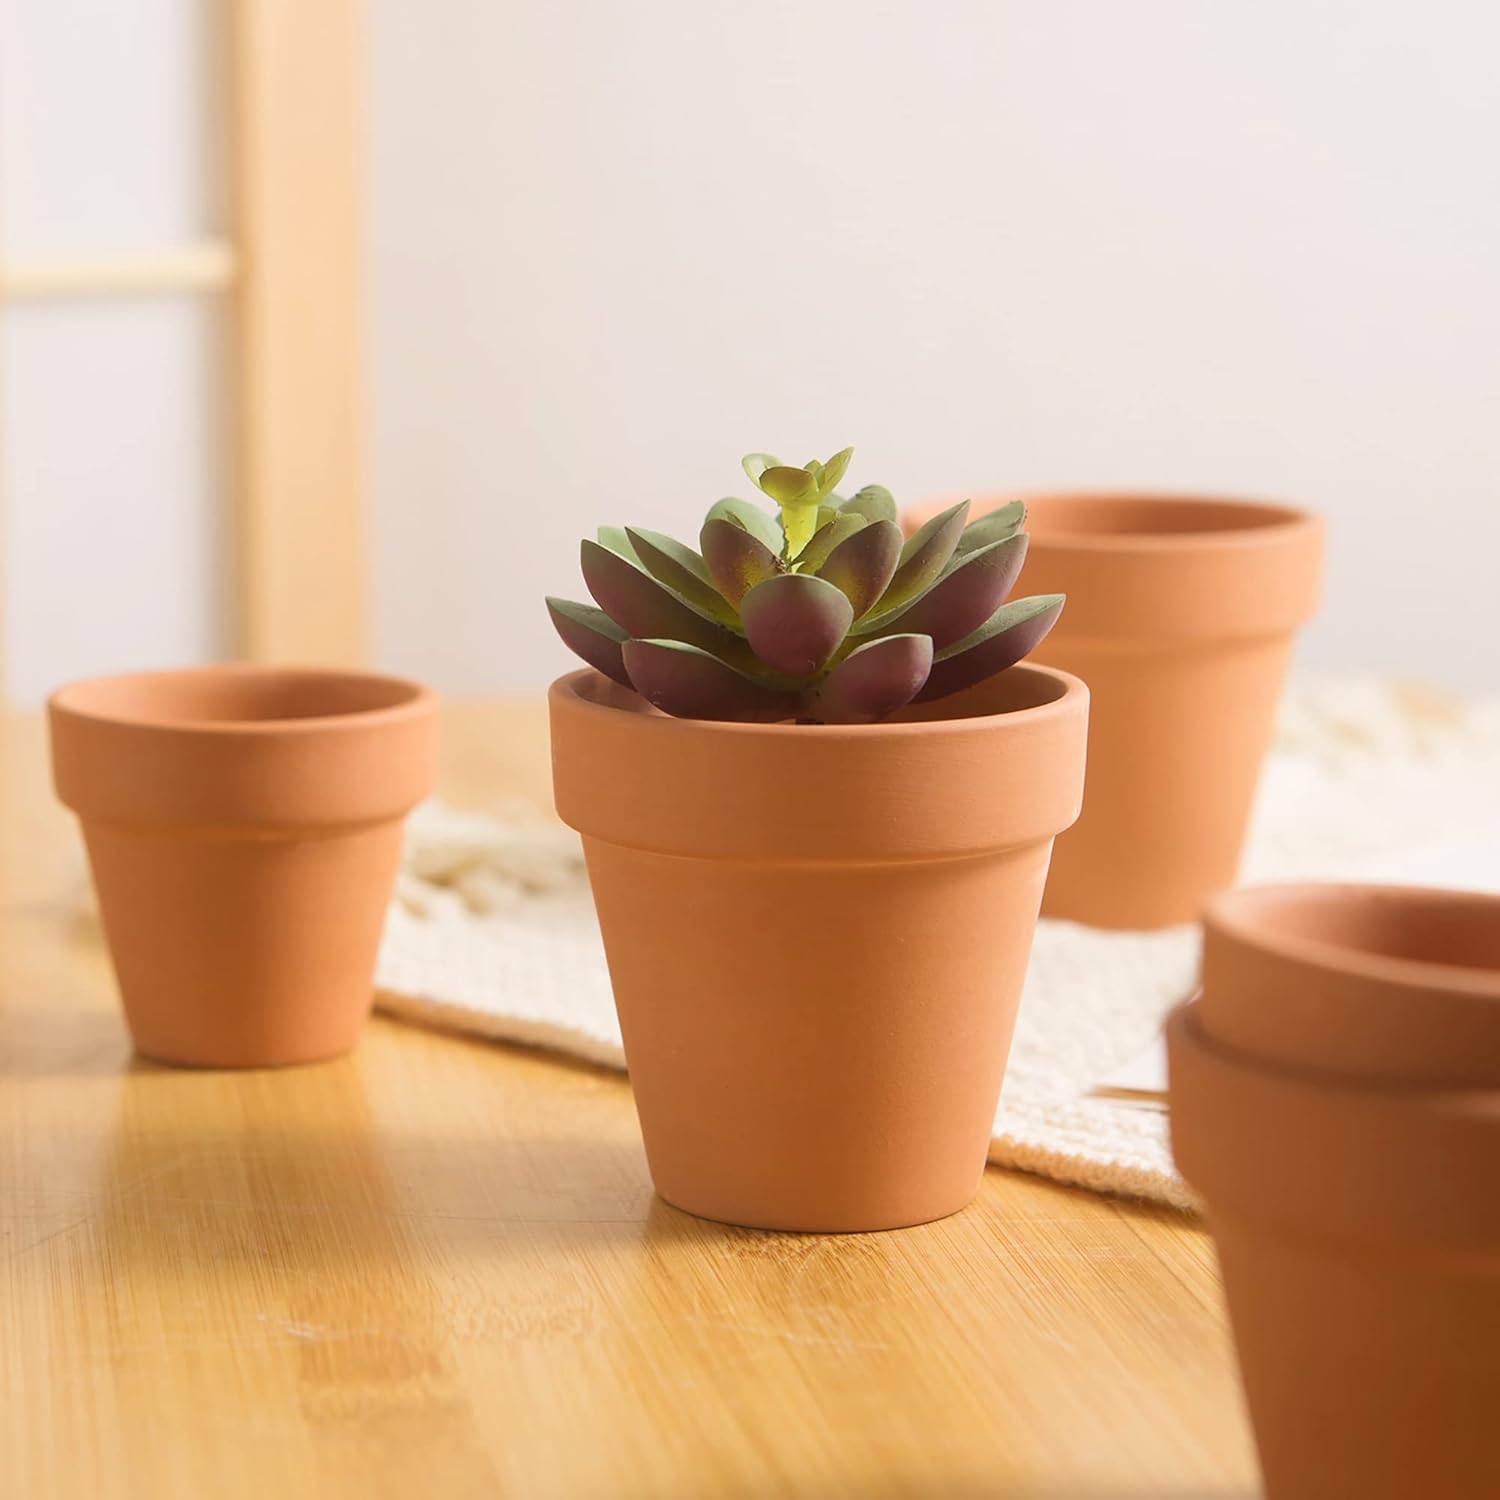 2" Clay (Terracotta) Flower Pot
 1" wide Ribbon with Holiday Pattern
 Thin Green Ribbon
 Green Craft Felt
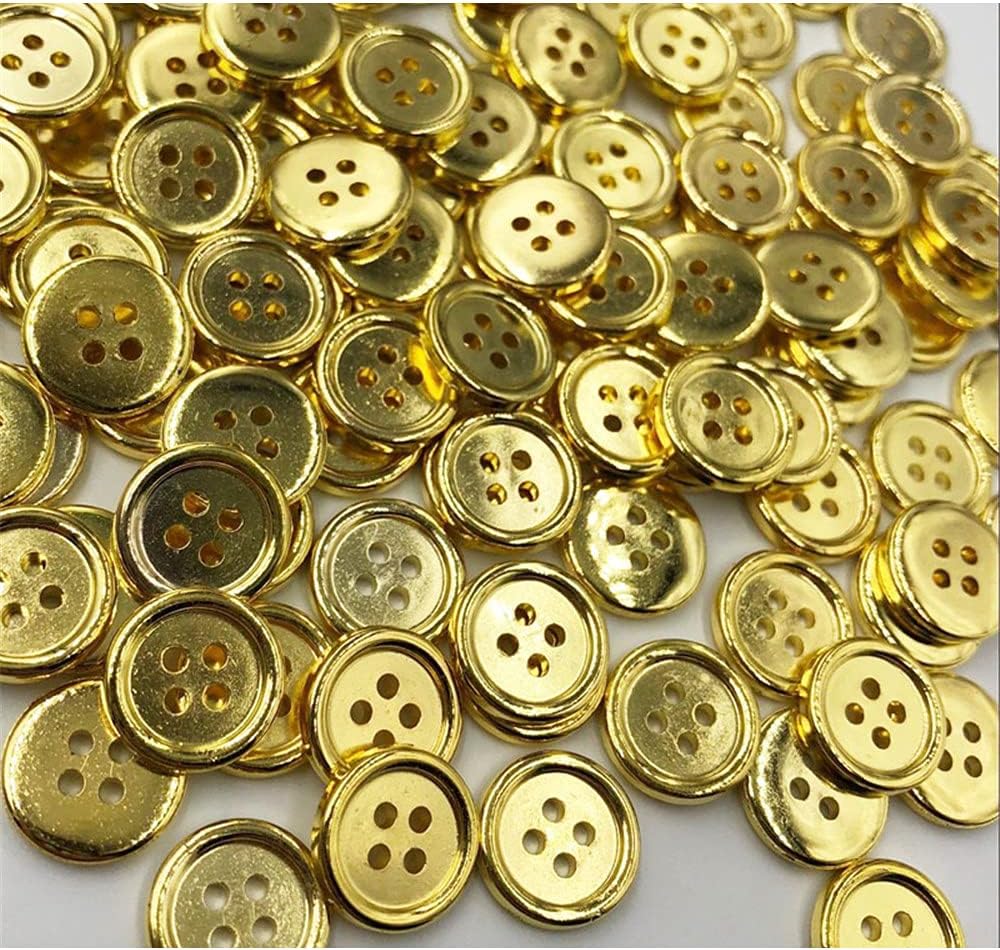 Gold Buttons
 Wooden Hearts for Ears
 Small Gold Bells
 Acrylic paints in flesh, red, pink, and black. You can make the flesh color by starting with a little white and adding a tiny dab of brown at a time until you get the shade that you prefer.
 Hot Glue
 Glue Sticks

