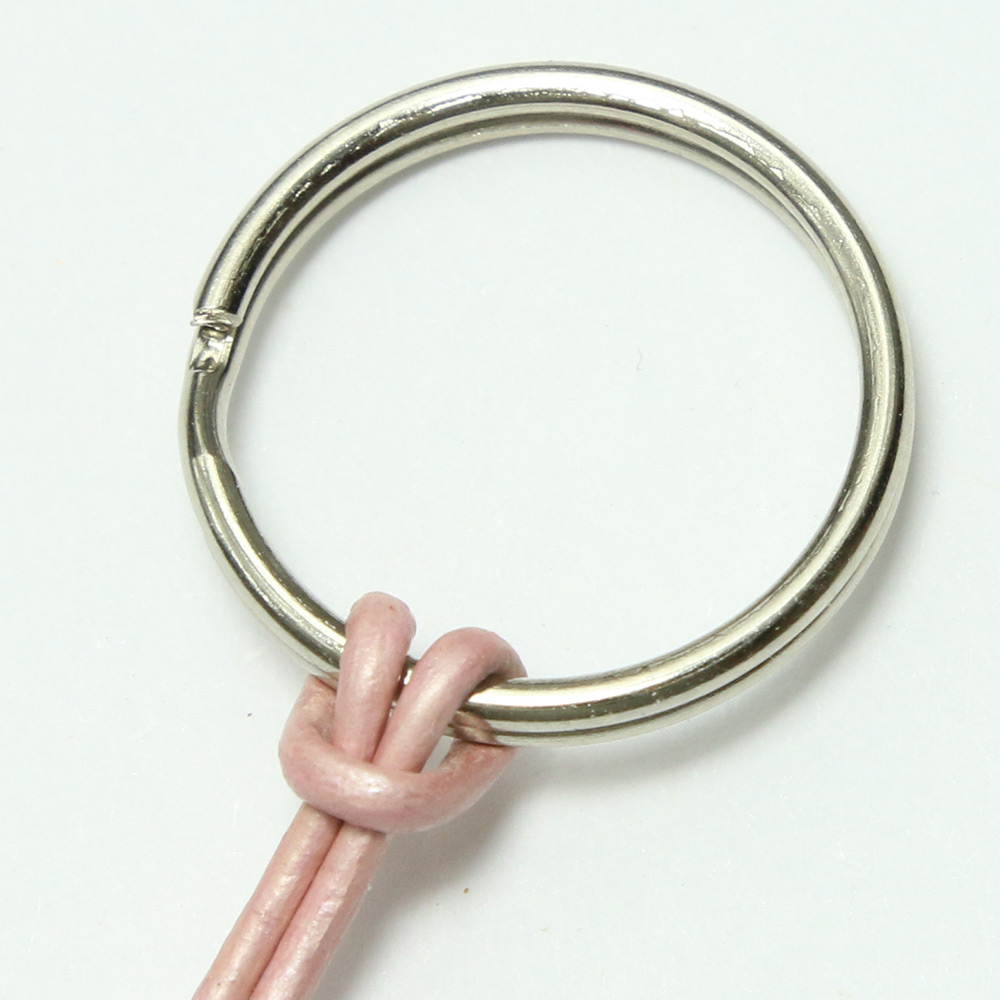
 1. Locate the halfway point of your cord and fold it in half. Attach the folded cord to your key ring or lanyard hook using a lark's head knot as shown in the photo. You should now have two cords of about the same length hanging from the key ring.
 2. Using the bead diagram for the Halloween pumpkin keychain, begin weaving the rows of beads. Pass one cord through the row of beads, then pass the other cord through the same beads from the opposite direction as shown in the illustration. Pull both cords until the new row rests against the previous one. Follow the increases and decreases in the diagram to form the rounded pumpkin shape.
3. After completing the pattern, tie a double knot in the cords at the bottom and apply glue to secure the knot.
4. If desired, string three or four additional beads onto the end of each cord for a decorative finishing touch.
Seed beads or E beads can be used instead of pony beads to make smaller versions of this Halloween pumpkin.
The illustration below shows the arrangement of the beads and the cord used to weave the Halloween pumpkin keychain. Click the illustration to open a larger version in a new window whenever you need a closer look.


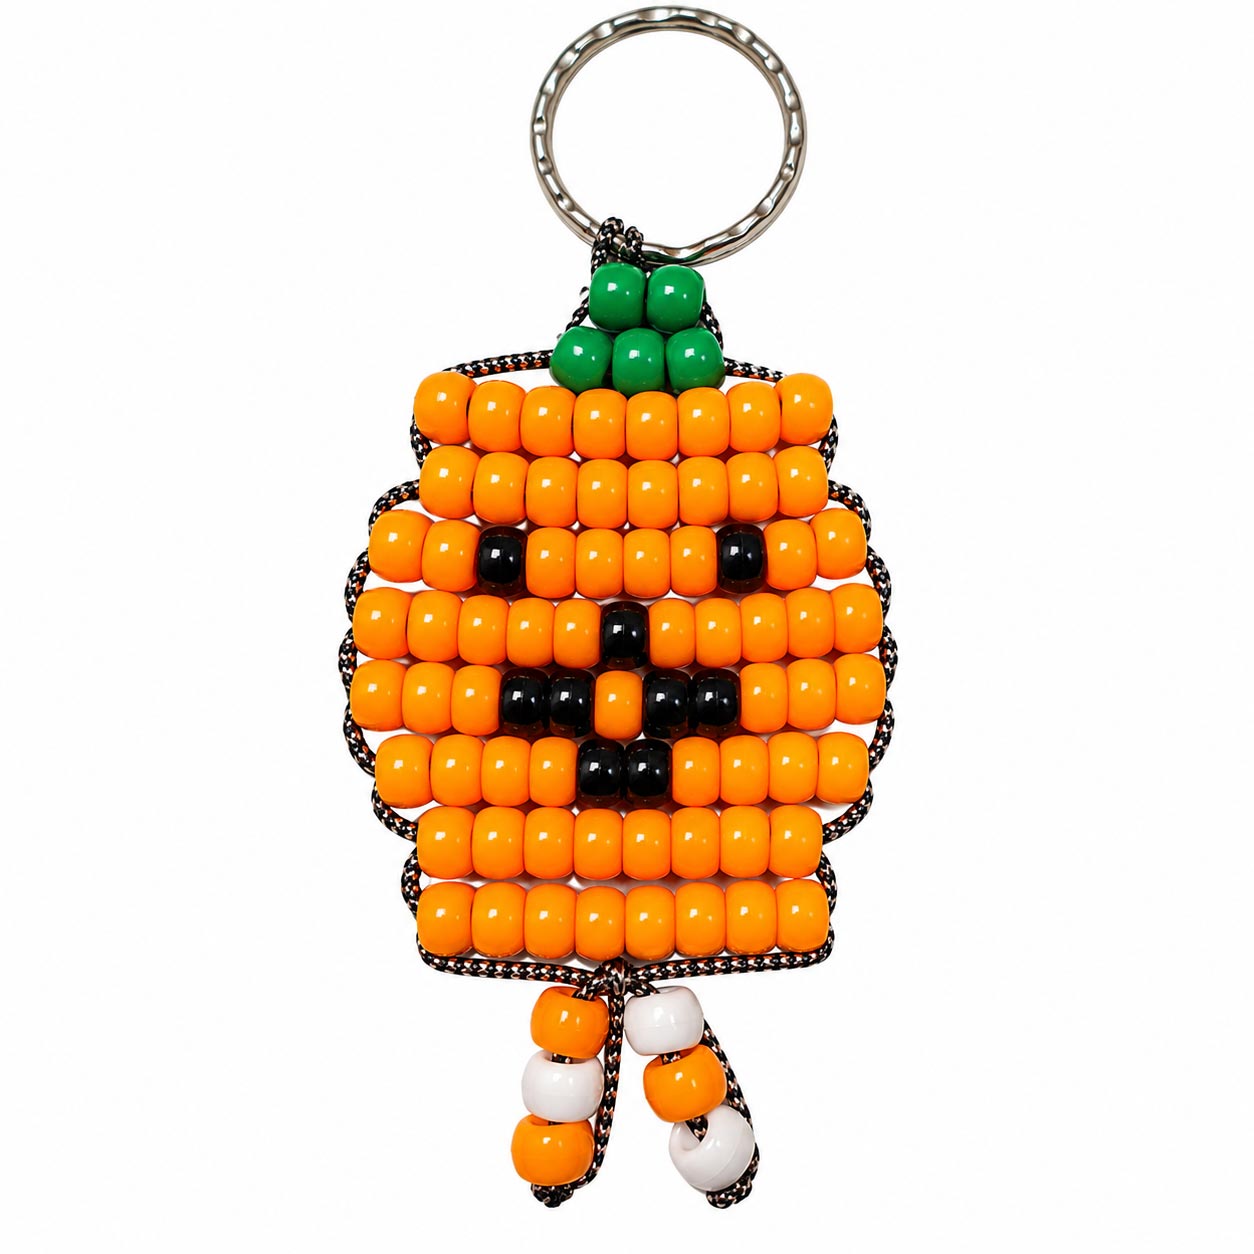
The finished keychain shown above was made using plastic canvas cord.

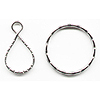 1 - Key Ring
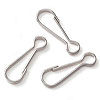 1 - Lanyard Hook
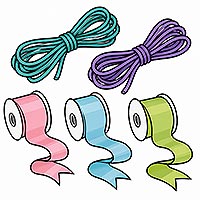 3 yards - Ribbon, Hemp or Cord
 Monofilament Cord
 9 - Black Pony Beads
 73 - Orange Pony Beads
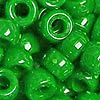 4 - Green Pony Beads
 6 - Clear Pony Beads
 Scissors
 Ruler or Measuring Tape
 Craft Glue