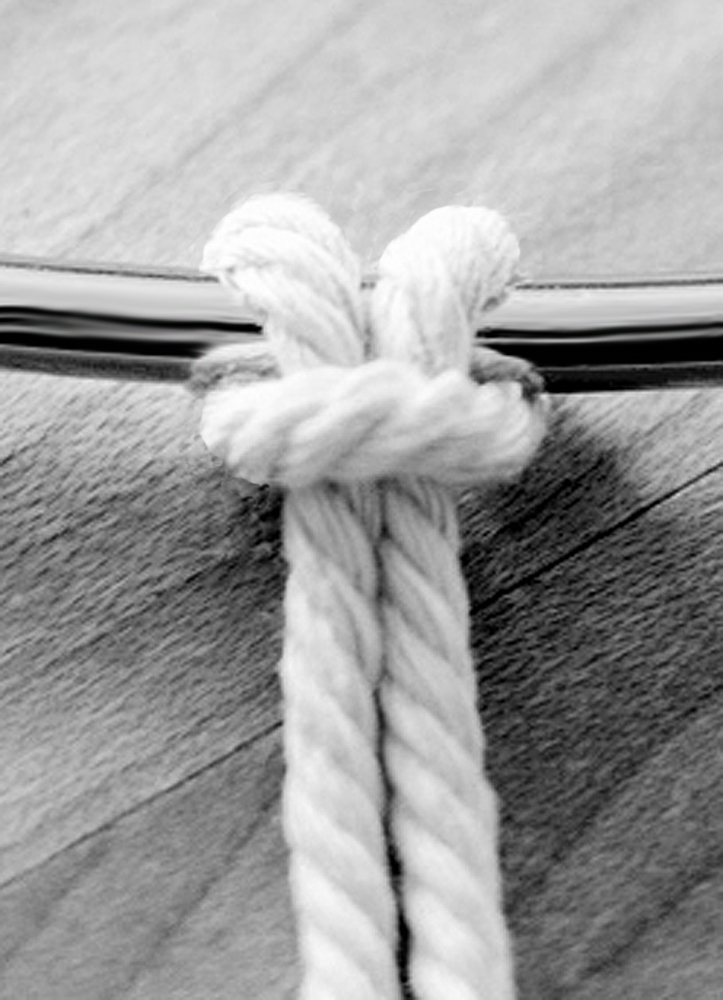
 1. Measure and cut approximately 5 feet of cord or plastic lacing. Fold it in half to locate the center, then attach the folded end to your key ring or lanyard hook with a Lark's Head knot as shown. Pull the knot snug so that two cords of approximately equal length hang from the ring.
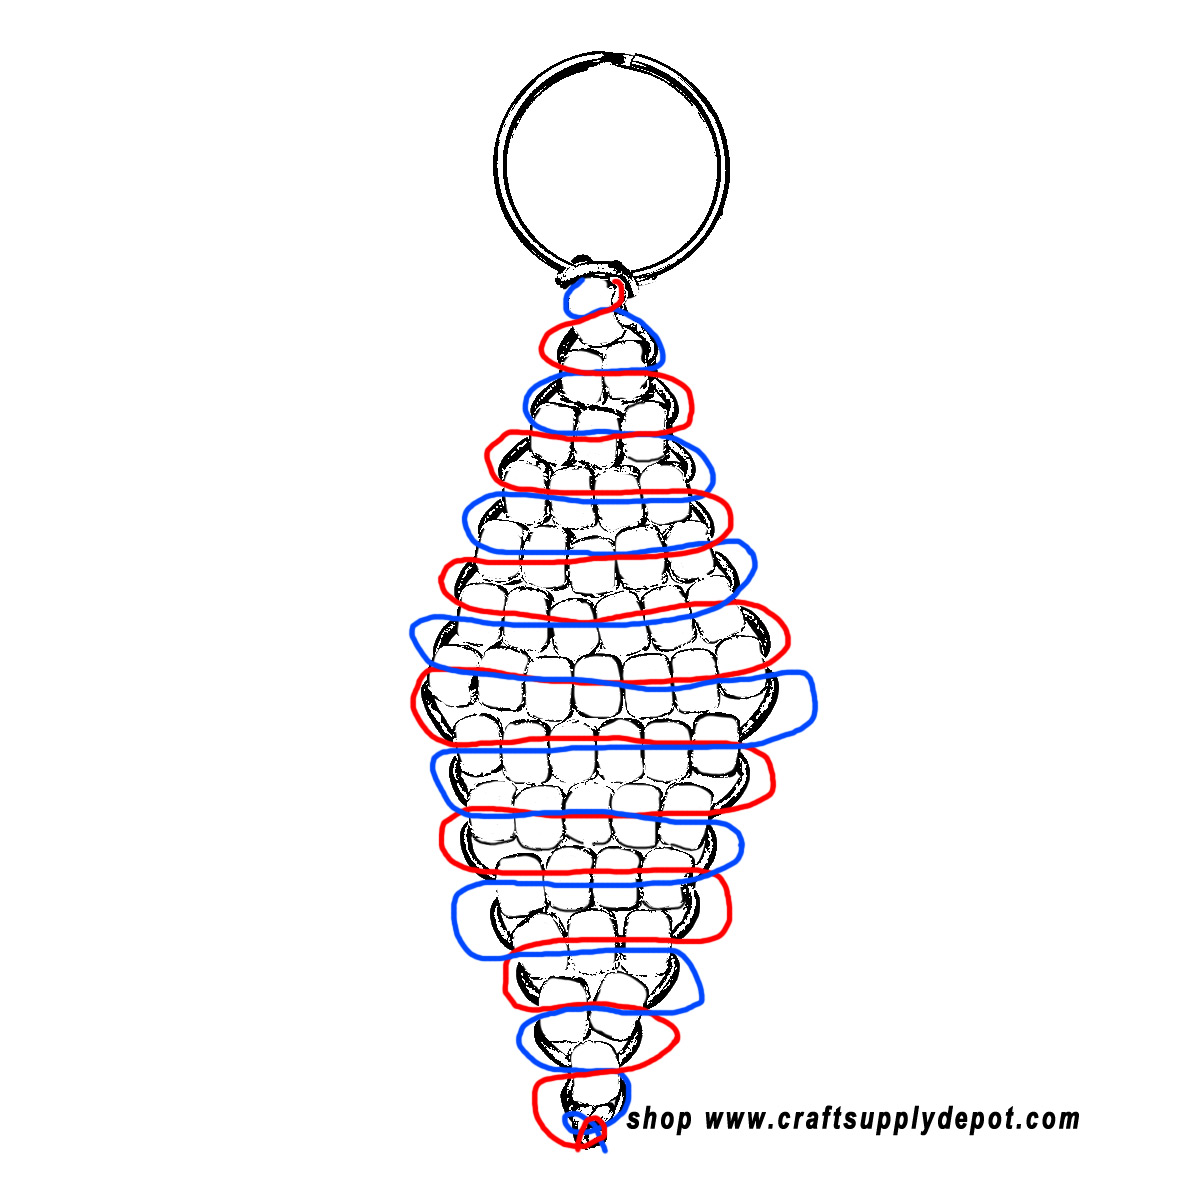
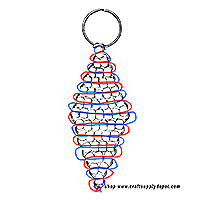
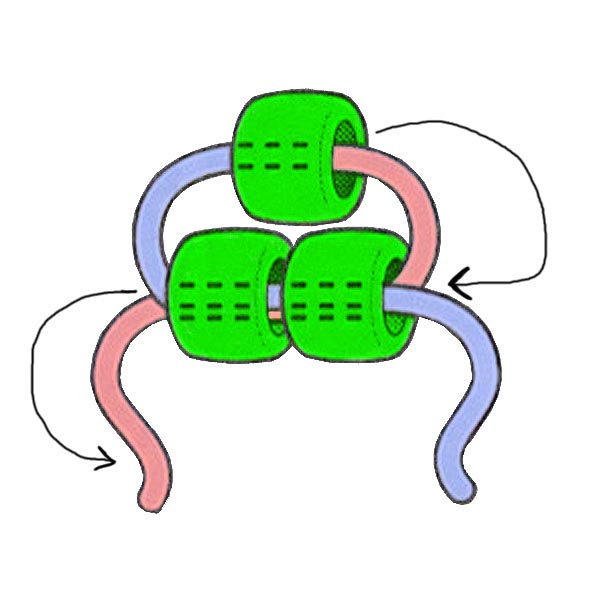 2. Use the diamond bead diagram near the bottom of the page as your guide. Place the first bead onto one cord, then pass the other cord through the same bead from the opposite direction. Pull both cords gently and evenly until the bead rests beneath the key ring.
3. Add 2 beads for the second row. Thread them onto one cord, then pass the other cord through both beads from the opposite direction. Pull the cords evenly so the new row rests snugly beneath the first bead.
4. Continue widening the diamond by adding one more bead to each row. The first half contains rows of 1, 2, 3, 4, 5, 6, and 7 beads.
Diamond Keychain Row Guide
| Row |
Beads |
Shape |
| 1 | 1 | Top point |
| 2 | 2 | Increase |
| 3 | 3 | Increase |
| 4 | 4 | Increase |
| 5 | 5 | Increase |
| 6 | 6 | Increase |
| 7 | 7 | Widest row |
| 8 | 6 | Decrease |
| 9 | 5 | Decrease |
| 10 | 4 | Decrease |
| 11 | 3 | Decrease |
| 12 | 2 | Decrease |
| 13 | 1 | Bottom point |
5. After completing the 7-bead center row, begin narrowing the design. Add rows of 6, 5, 4, 3, 2, and finally 1 bead. Continue passing the two cord ends through every row from opposite directions.
6. Check the diamond as you work. Pull both cords with even pressure so the rows remain centered, but do not pull so tightly that the diamond curls or the cord pinches between the beads.
7. For a diamond without a dangle, bring the two cord ends together directly beneath the final bead and tie them securely with a square knot or two tight overhand knots.
8. To add a dangle, pass both cord ends through the desired accent beads before tying the finishing knot. You can use one color, alternate colors, or repeat colors from the diamond.
9. Place a small dab of craft glue directly on the finishing knot. The glue is necessary because repeated handling can loosen an unsealed knot and allow the beads to come off the keychain. Let the glue dry completely before trimming the excess cord.
10. Straighten the rows and adjust the side cords until the diamond hangs evenly from the key ring.
Follow the Cord Path
The threading diagram below uses two different colors to trace the path of the cord ends through each row. Follow the widening rows to the center of the diamond, then reverse the sequence to form the lower point. Click the image to open a larger version.
Make It Your Own
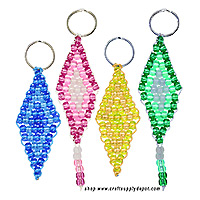
Create the diamond in a single color, alternate light and dark shades, or add a contrasting design through the center. Transparent, pearl, glitter, metallic, neon, and glow-in-the-dark pony beads can give the same pattern a completely different appearance. Try school colors, team colors, birthstone shades, holiday combinations, or colors chosen to match a backpack or purse.
Did You Know?
The diamond is one of the easiest geometric shapes to create with row weaving because the design follows a predictable sequence. Each row increases by one bead until the widest point is reached, then decreases in reverse order. This same technique can be adapted to make ornaments, earrings, pendants, zipper pulls, and decorative hanging pieces.

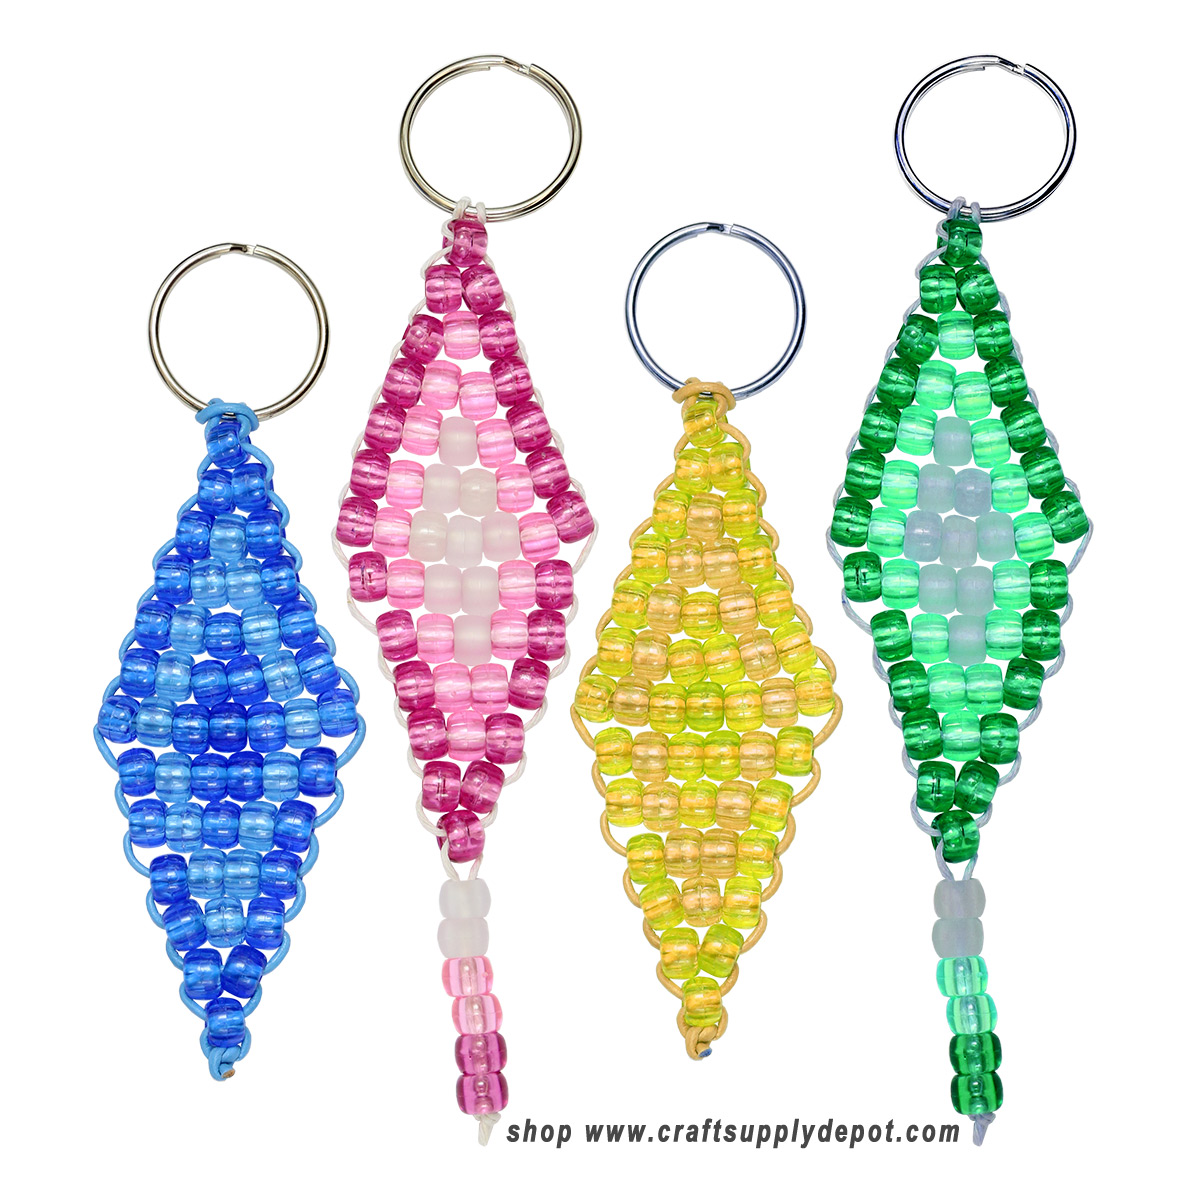
 49 - Pony Beads
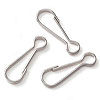 1 - Lanyard hook
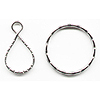 1 - Key Ring
 5 feet
 Scissors
 Ruler or Measuring Tape
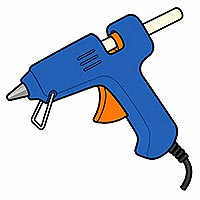 Craft Glue