Cut 1 each of your airplane pieces, according to the pattern pieces below.
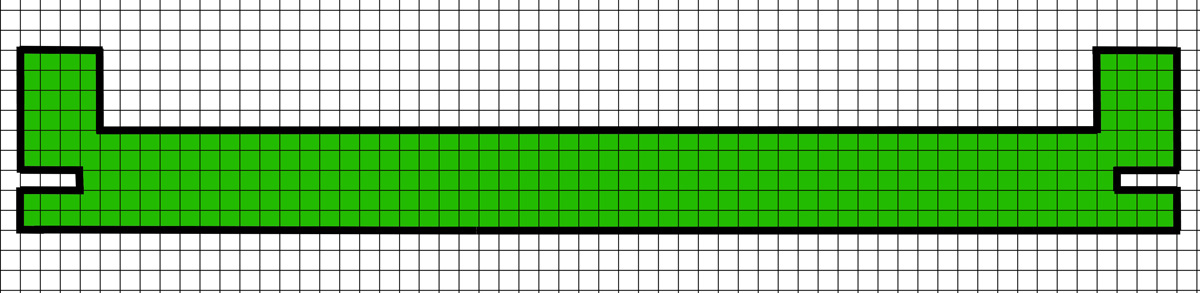
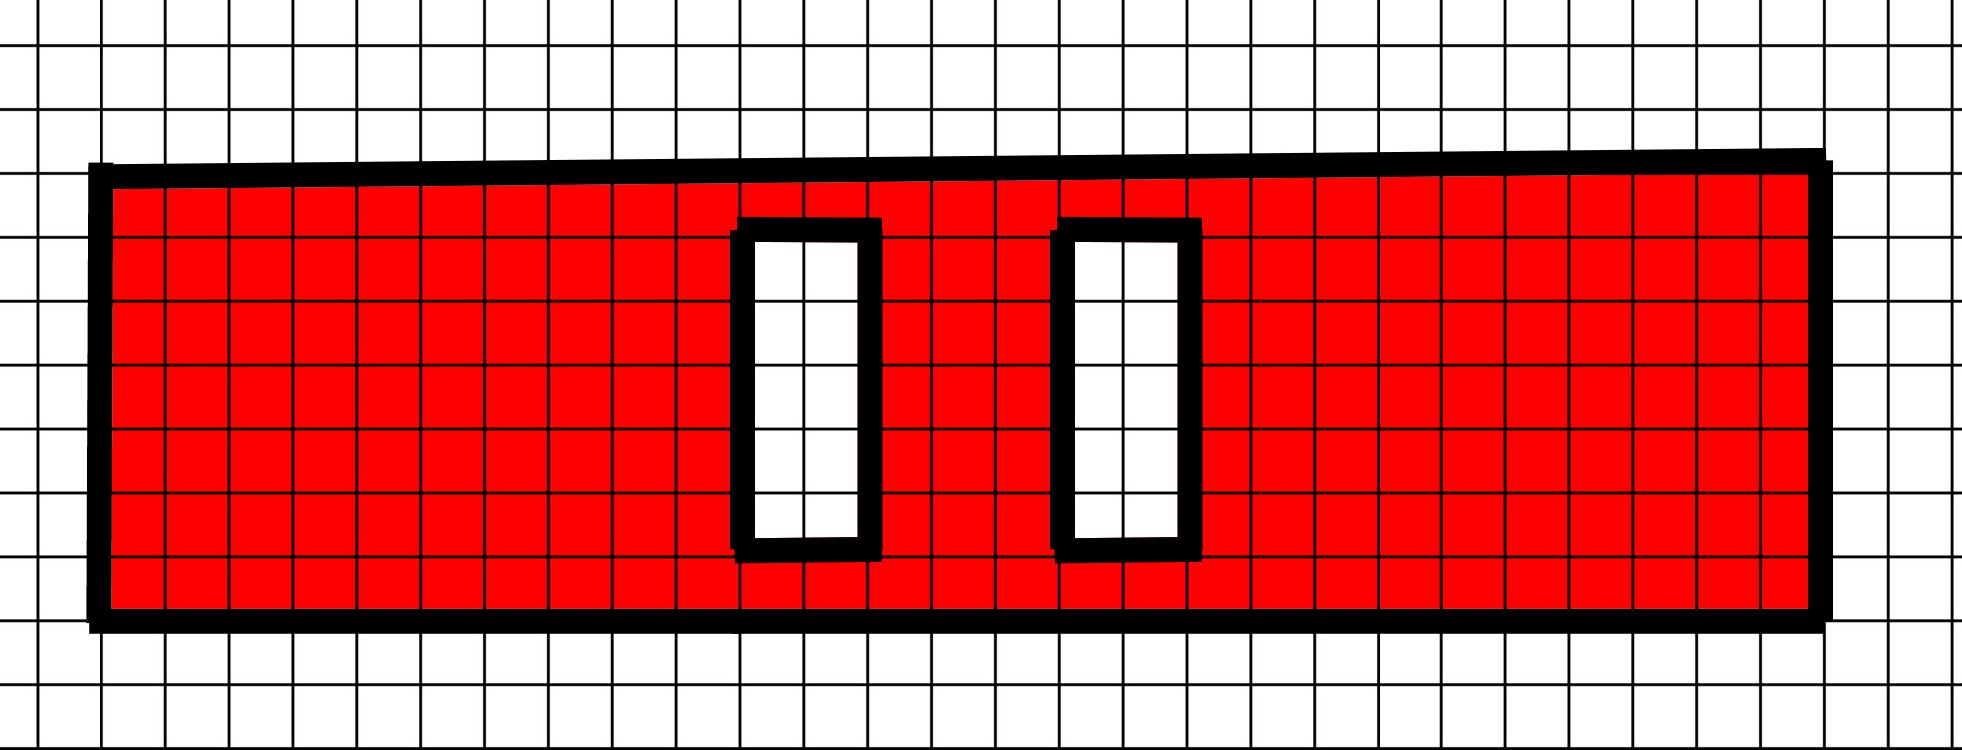
Body of Biplane.
----------
Top Wing.
----------
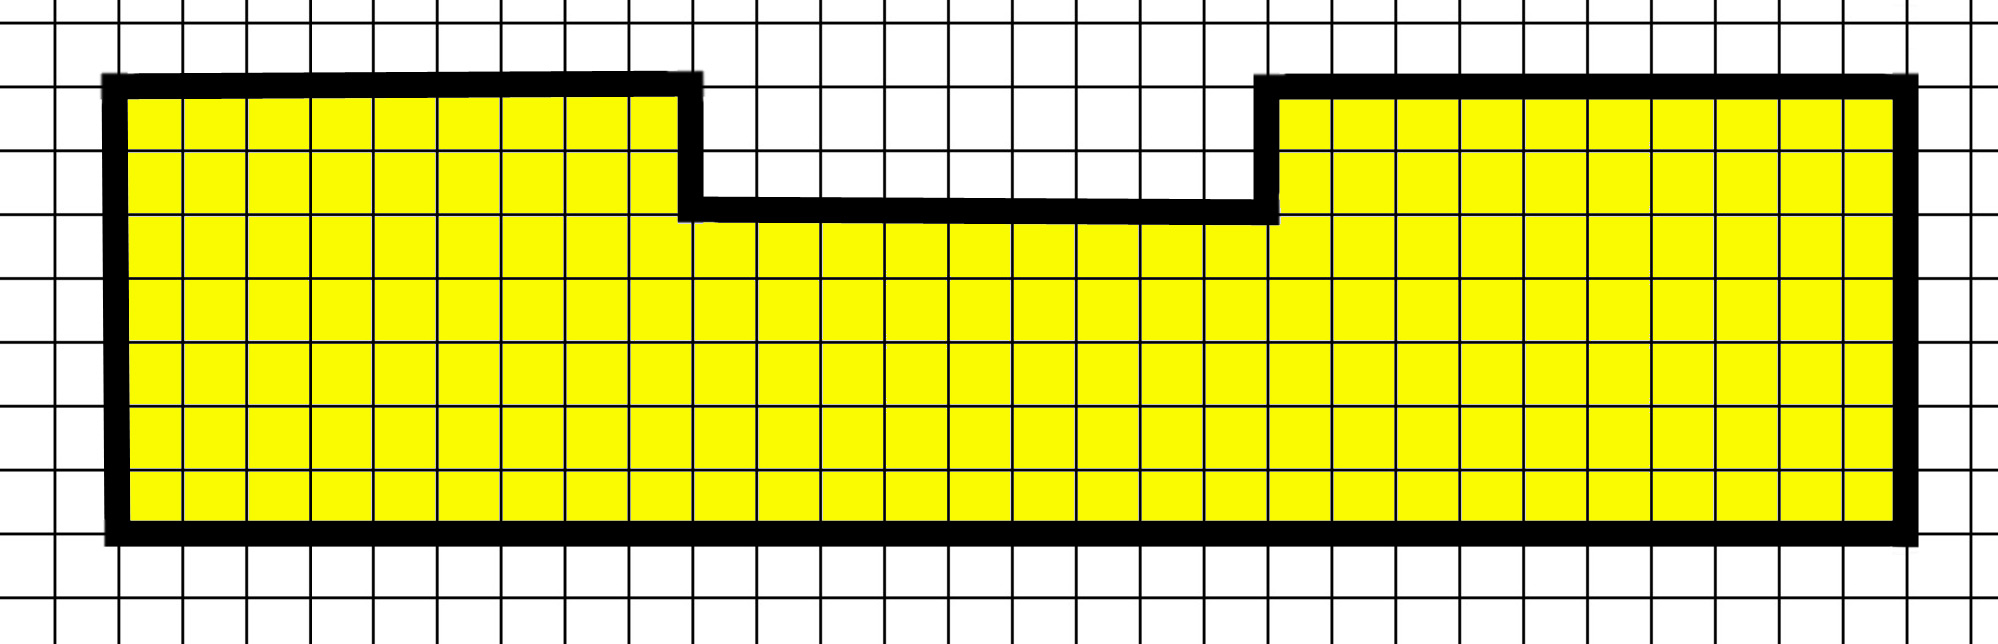
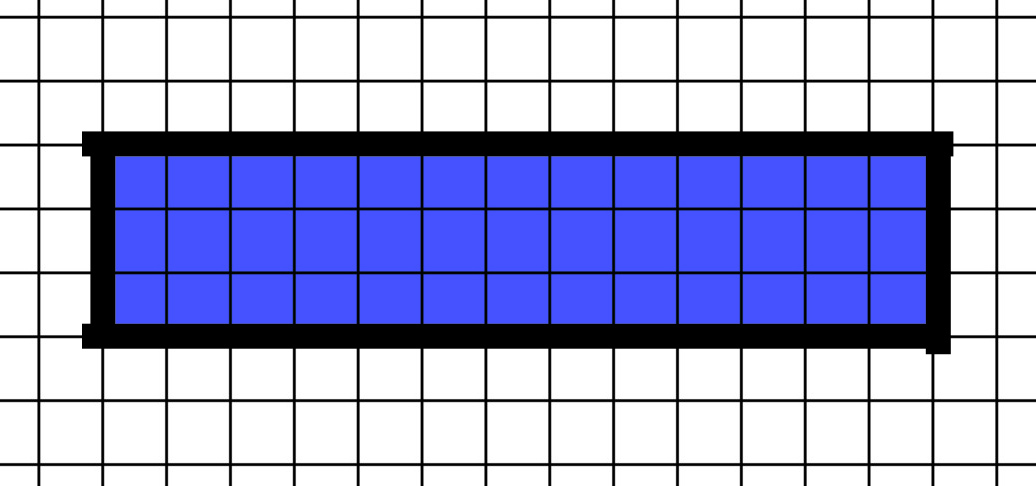
Bottom Wing.
----------
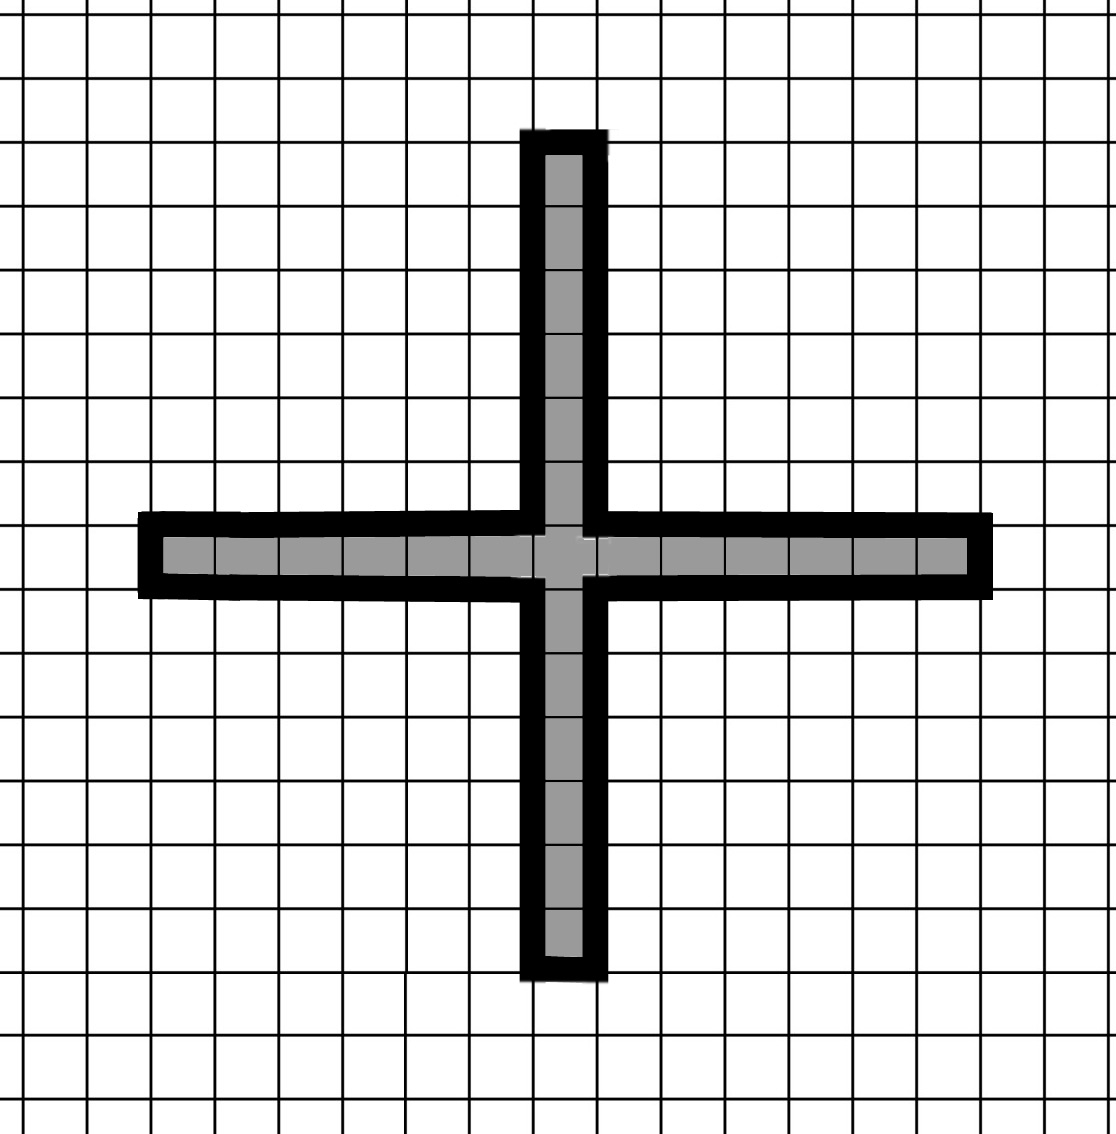
Tail Wing
----------
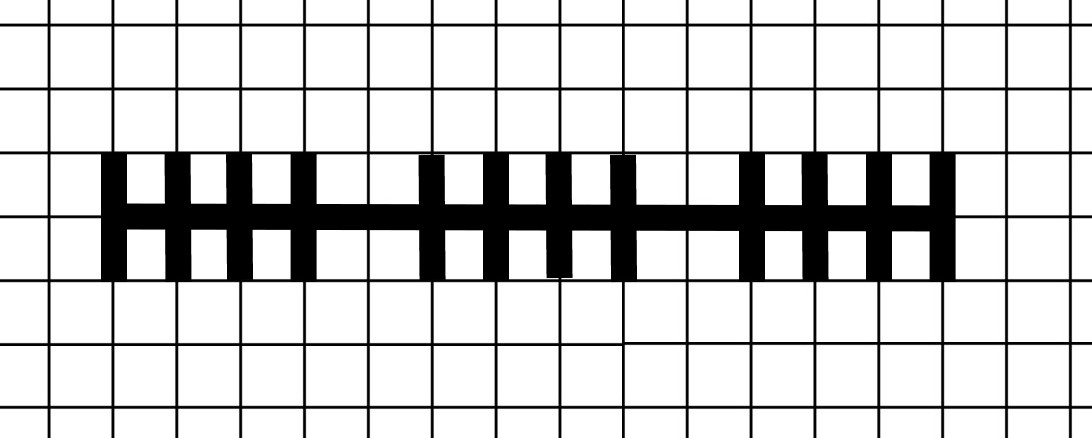
Propeller
----------
Wheel Axle
You will need to know 2 different stitches for this pattern.
The overcast stitch is used to finish the edges of your plastic canvas and to stitch 2 pieces together.
The tent stitch is a small diagonal stitch that crosses over the intersection of the upper right corner of a square, into the next hole of the next row, and is used to cover your plastic canvas with the color of your choice.
Once you have all of your pieces cut out use the tent stitch to cover all of your pieces except the propeller.
Using the overcast stitch, overcast all the raw edges of your pieces, except the tail section of the body.
Bend the body piece around until the tails ends are touching. Match the pieces together and overcast stitch the doubled tail section together, including the slot for the tail.
Using silver or gray yarn overcast all 4 blades of the propeller, leaving the center hole open.
To attach the propeller you can either use a dot of hot glue or you can sew it onto your airplane front.
Sew or glue your rhinestone or button to the center of the propeller.
To attach the wheels to the bottom wing, insert a wheel into one of the holes of the bottom wing. Insert the axle into the wheel, then insert the other wheel into the other hole and position the axle into place. You should have both wheels in their holes and the axle should be in the middle of both wheels and the axle should be even placed on your wing. Stitch the axle into place.
Optional: The cockpit on your finished airplane will be open. If you prefer it to be closed lay your body onto a piece of plastic canvas and trace around it. Cut out and test fit it to your body. Tent stitch as on the other pieces and then overcast stitch into place before adding the wings in the next step.
Test fit the bottom wing to your body piece until it looks right, being careful to center the wing, and then stitch it into place.
Stitch the top wing to your plane, with the cut out side facing the rear of the plane. Be sure your top wing is directly centered above the bottom wing.
Insert the tail into the slot and stitch into place.
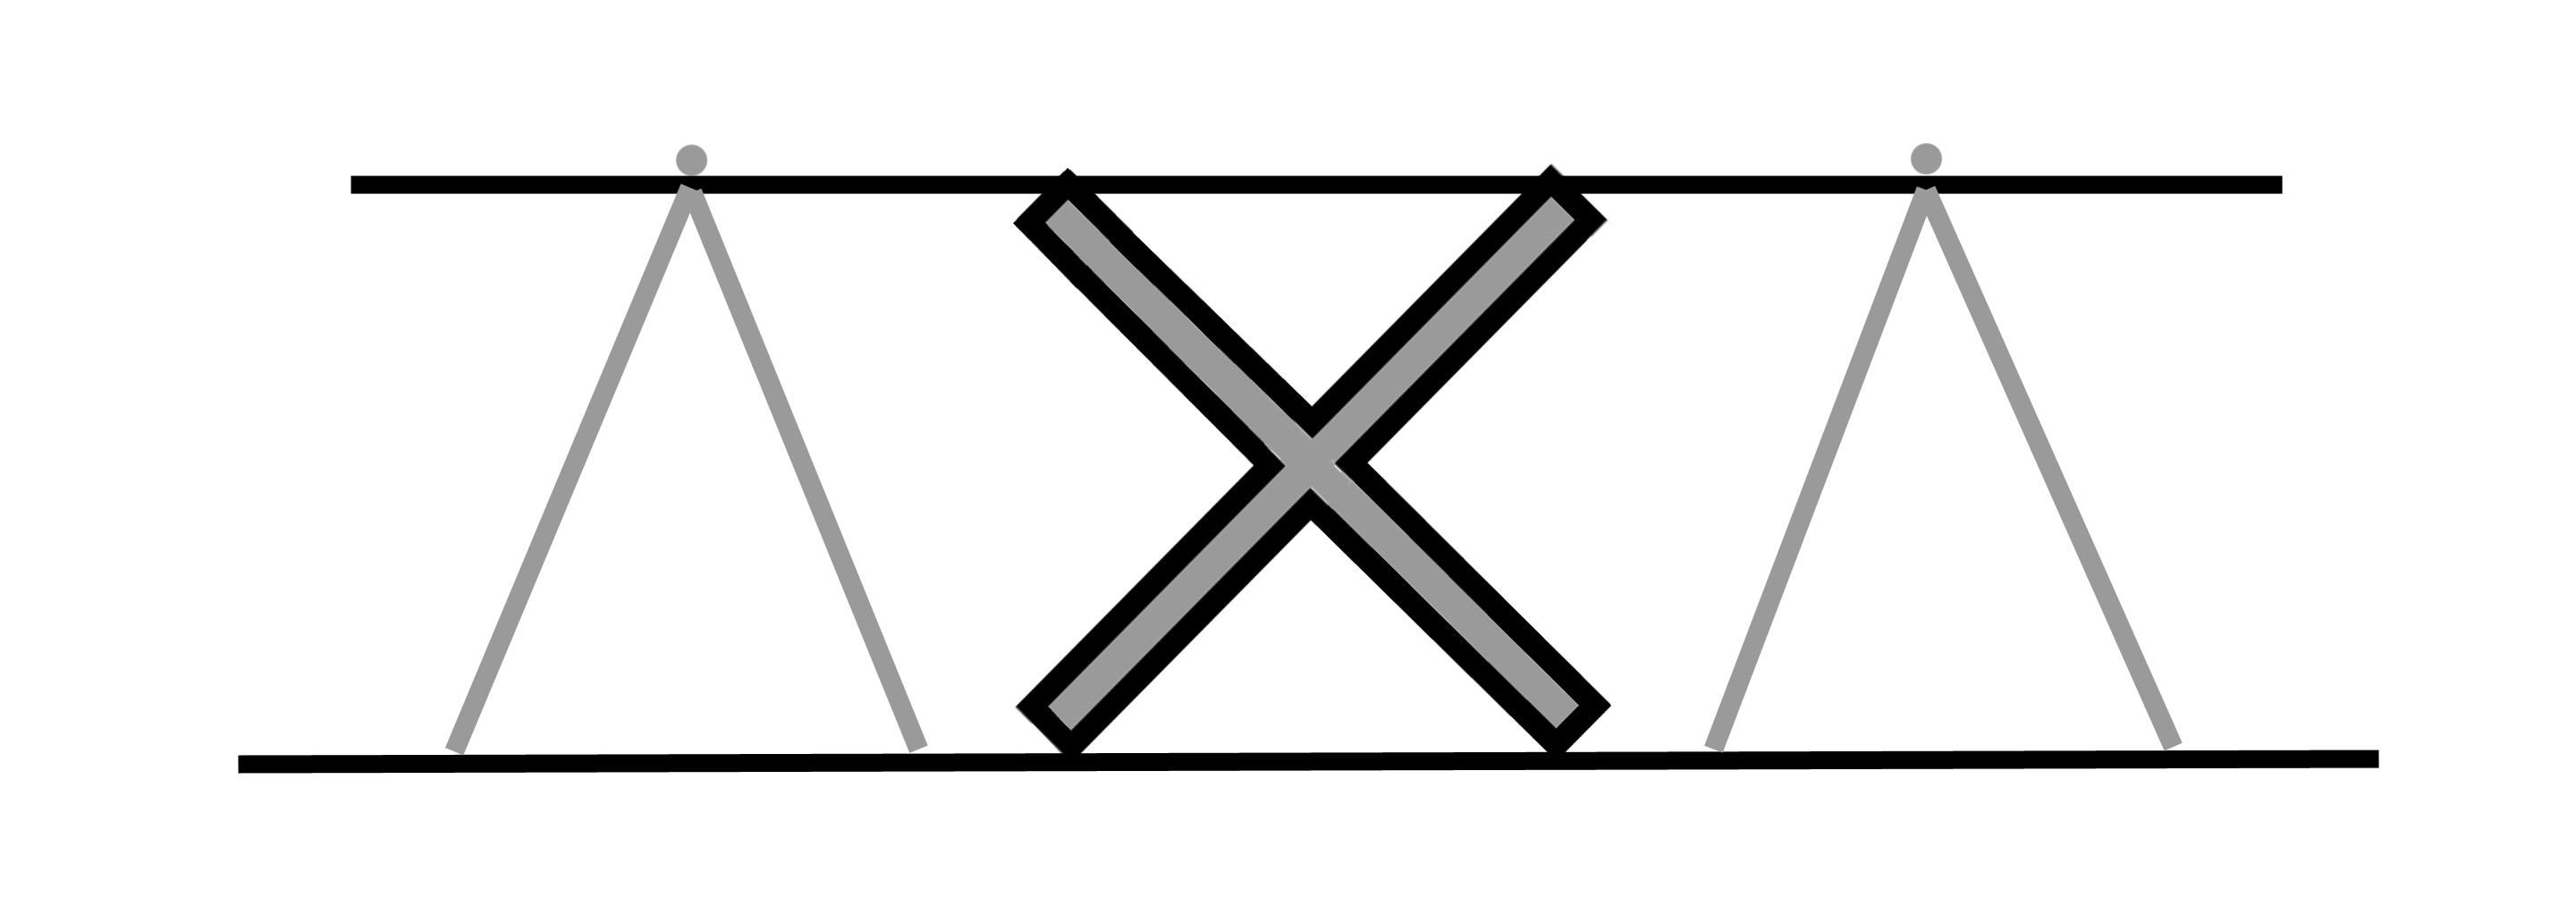
Plane front illustration.
Using the illustration above, for the placement of your struts, use a single strand of yarn to go up from the bottom wing to the top, and back down. Tie off and work the yarn ends into your work.
Glue your wing decorations into place.
There is plenty of room in the cockpit area to insert a cuddly pilot if you wish.