In business since 1985. Online since 1994. We sincerely thank you for supporting family owned, family operated businesses!
Give us a call from 8am to 6pm Mon-Fri. We are available to answer questions or to take your order.
(361) 645-3325
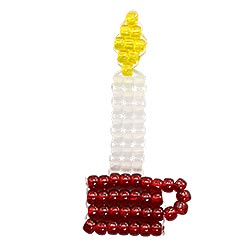
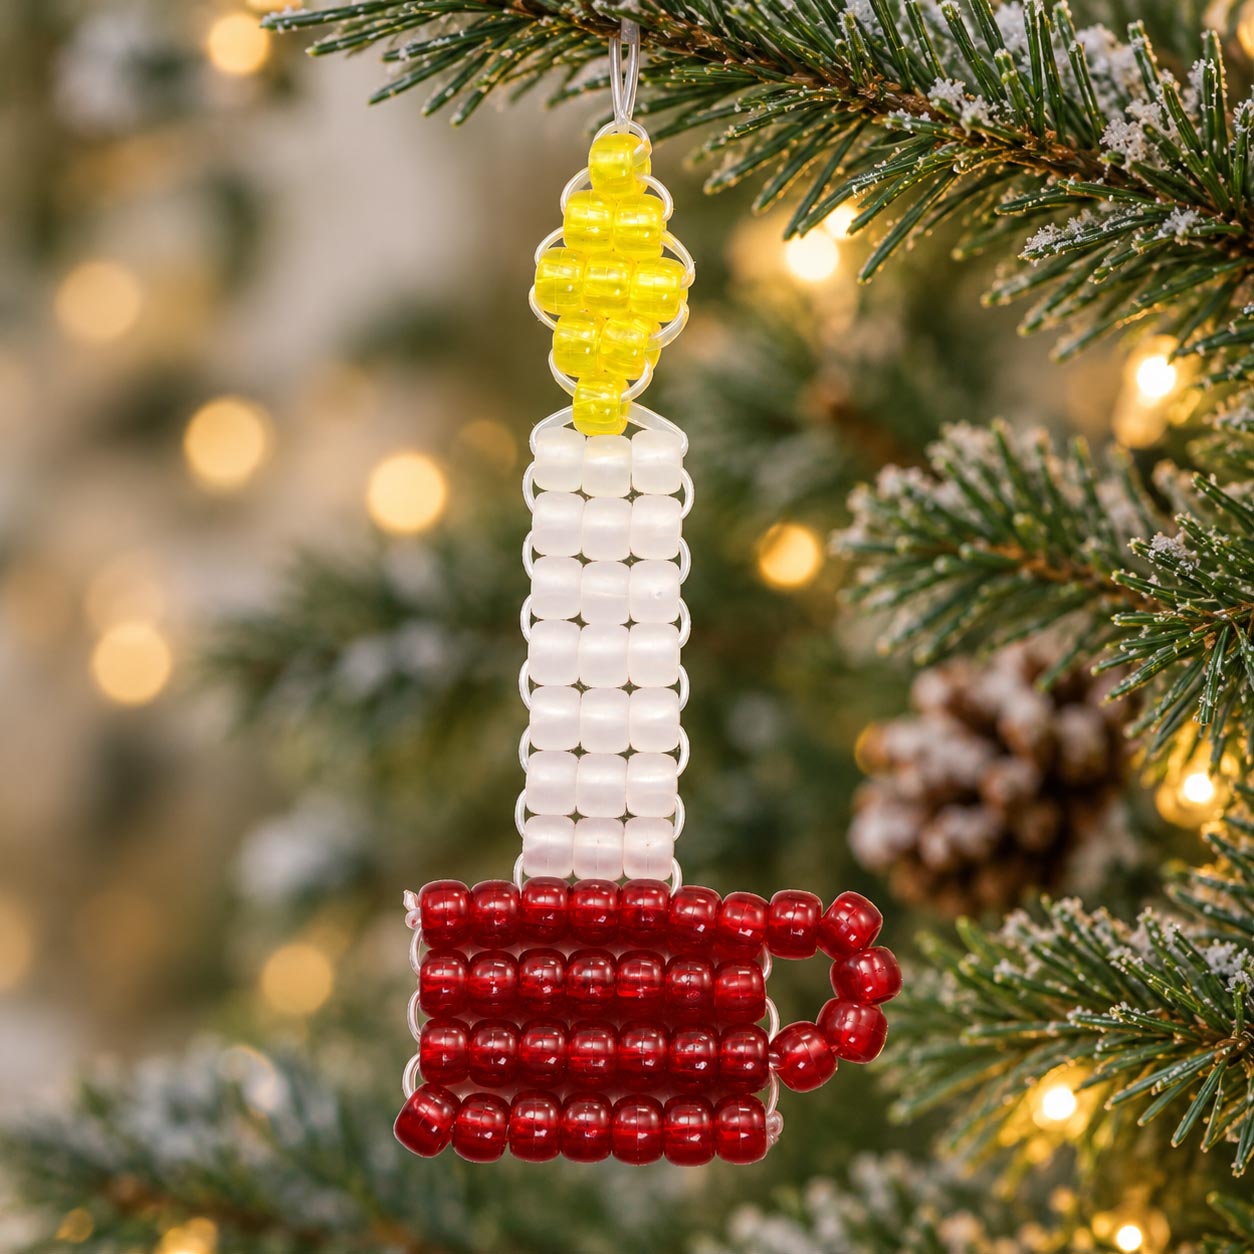
If you enjoy making Christmas ornaments with pony beads, I think you'll have fun with this little beaded candle! I especially like how this candle is fast and easy to make, its holder and even the little flame are all part of the beadwork. It's a cheerful little project that captures the look of an old-fashioned Christmas candle, and there's a certain satisfaction in making them yourself.
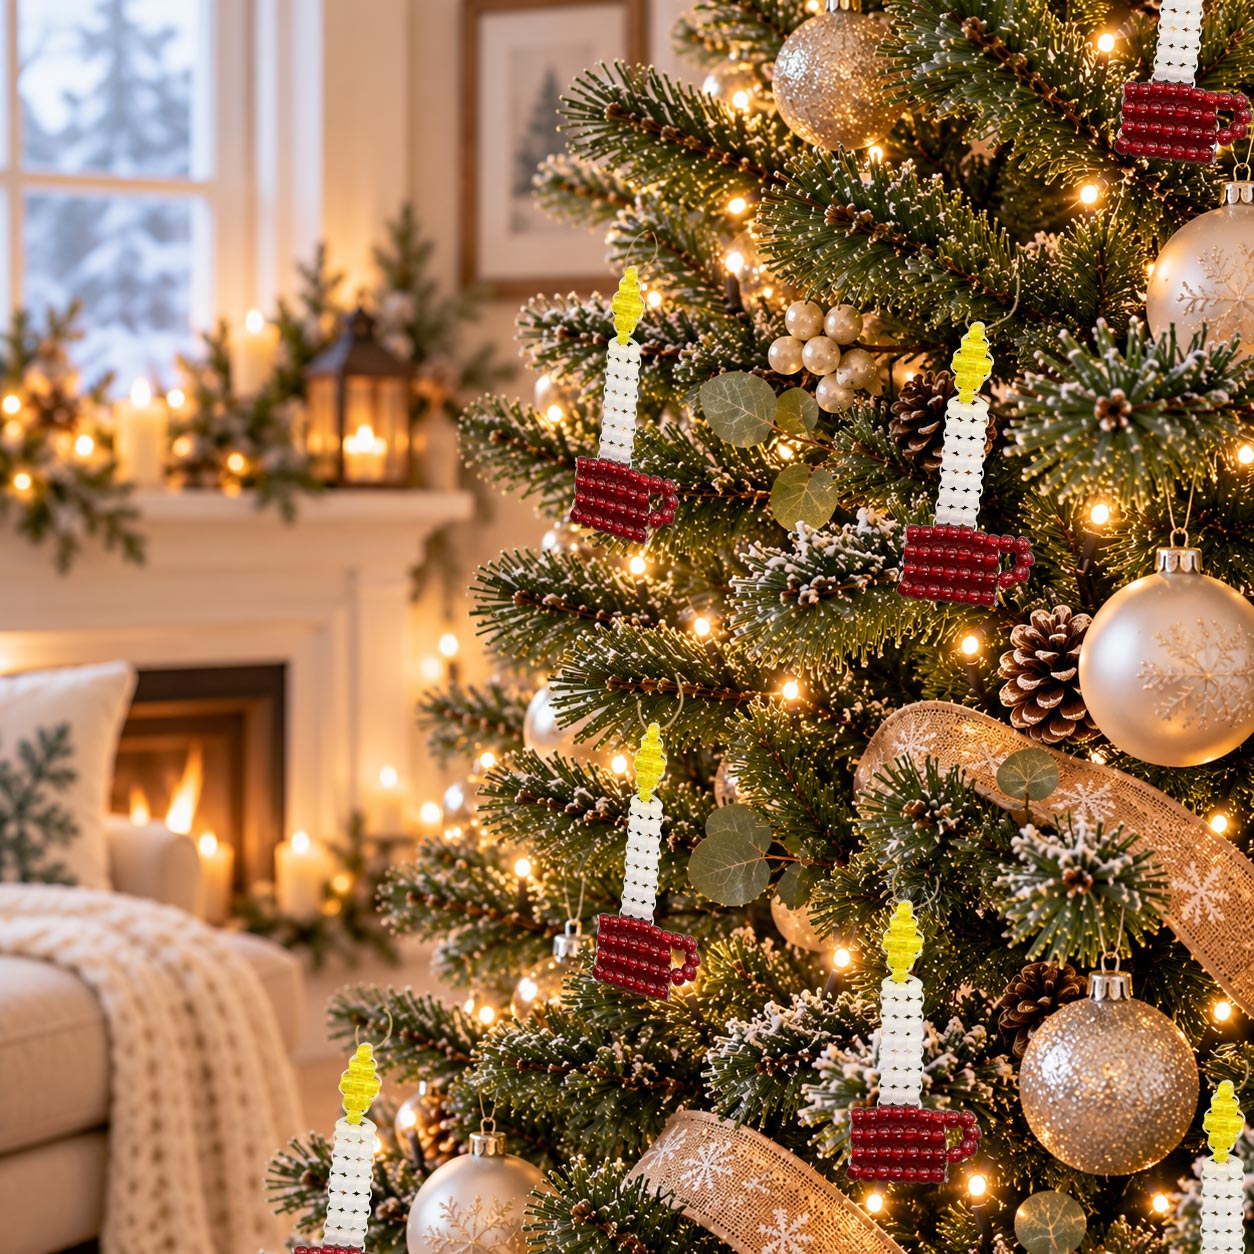
These beaded candle ornaments would look pretty hanging among the branches of a Christmas tree, but that's certainly not the only place you could use them. You might enjoy adding a few to a Christmas wreath or garland, hanging one from a holiday gift package, or making a little collection to decorate a window. The photo below shows another way to enjoy this project and might give you an idea or two of your own.
Our free beaded candle pattern uses illustrated instructions rather than a video. I know videos are popular, but I think there's a lot to be said for having an illustration right in front of you. You can study the bead arrangement and cord paths, work at your own pace, and look back at any part of the pattern as often as you need to without having to pause or rewind a video. Sometimes it's just nice to take your time and enjoy making something without having to keep up with what's happening on a screen.
Small pony bead Christmas ornament crafts like this can also be a nice way to spend an afternoon with family or friends. Make a few candle Christmas ornaments with pony beads for your own decorations, or give them as little gifts that someone can bring out and enjoy again next Christmas.
If you make this project please share your photos with us. With your permission we'll add it to the page and credit it to you.
Early beads were made from natural materials such as shell, bone, stone, wood and glass. With the development of synthetic plastics in the late 1800s and early 1900s, manufacturers gained a material that could be molded into beads in an enormous variety of shapes and colors. Later plastics, including acrylic, made colorful beads inexpensive, lightweight and easy to mass produceāhelping turn them into the familiar craft-room staple we know today.
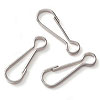
1 - Lanyard Hook
OR
1 - Key Ring
The lanyard hook or key ring is just a standard recommendation. I didn't use either one for this candle. If you're making an ornament or decoration, you might prefer a decorative ornament hook or a jump ring and decide how you'd like to hang it later.
Cord - Approximately 4 ft
There are lots of different types of cord you can use for your beaded candle. Of all the different kinds of cords we've tried, a flat plastic lacing such as Rexlace (also called boondoggle or plastic lace) seems to work best for these types of patterns. It helps the rows of beads sit neatly together without bunching or curling as easily and helps your finished ornament keep its shape. Round cords about 1.5mm to 2mm thick also work well. There's also a plastic cord called pony bead cord that is supposed to be good, although I haven't tried it myself. If all you have is a thinner cord, you can weave a little wire or pipe cleaner into your ornament to help it hold it's shape.
Helpful Hint: If you use cord and your cord end frays easily, try dipping it into a little melted wax and smoothing it out with your fingers. This helps prevent fraying and creates a stiffer end for threading through your beads.
2mm Metallic Cord
9 - Pony Beads (For the candle flame, we used transparent yellow. Gold or orange beads also work well.)
21 - Pony Beads (For the candle, we used a frosted matte crystal.)
33 - Pony Beads (For the base and handle, we used transparent dark ruby.)
Glue
Scissors
Ruler or Measuring Tape
Optional: If your beaded candle needs a little extra stiffness, you can weave a piece of pipe cleaner or wire through one of the wider rows to help it hold its shape.
Beading Wire
OR
Pipe Cleaners
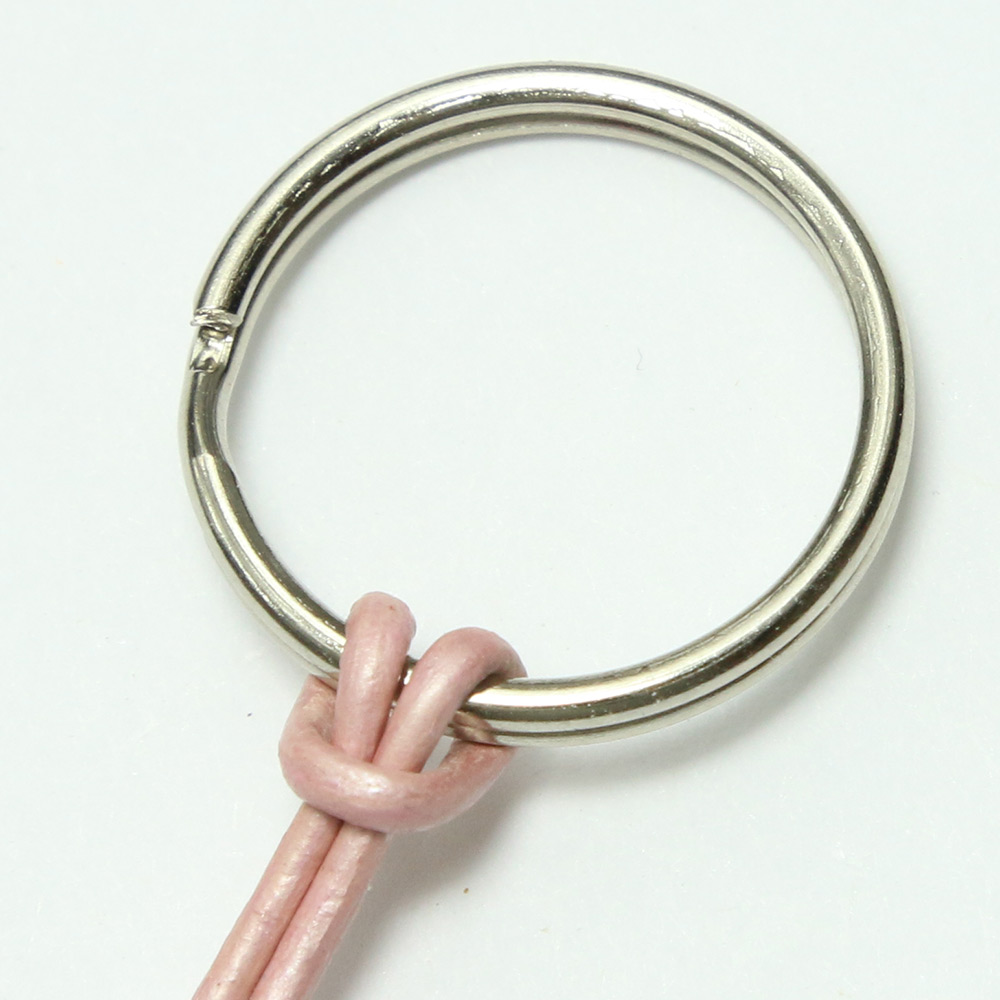
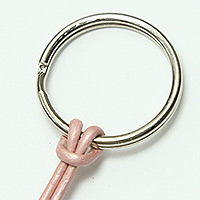
1. Most patterns like this call for folding your cord in half. For this one leave one end about 6 inches longer than the other. We'll use that extra length to make the candleholder's handle at the end. If you're using a key ring or lanyard hook, attach the cord with a lark's head knot as shown in the photo.
Note: Omit the previous step if you are using a different type of connector for your ornament. You still want to do the 6 inch longer side as described above.
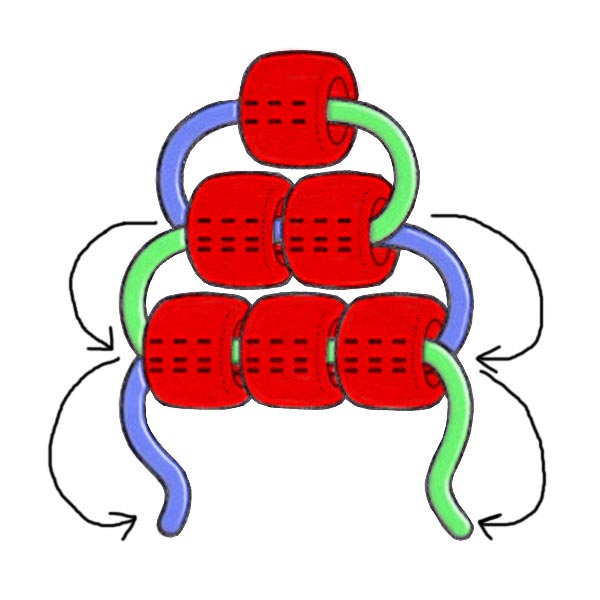
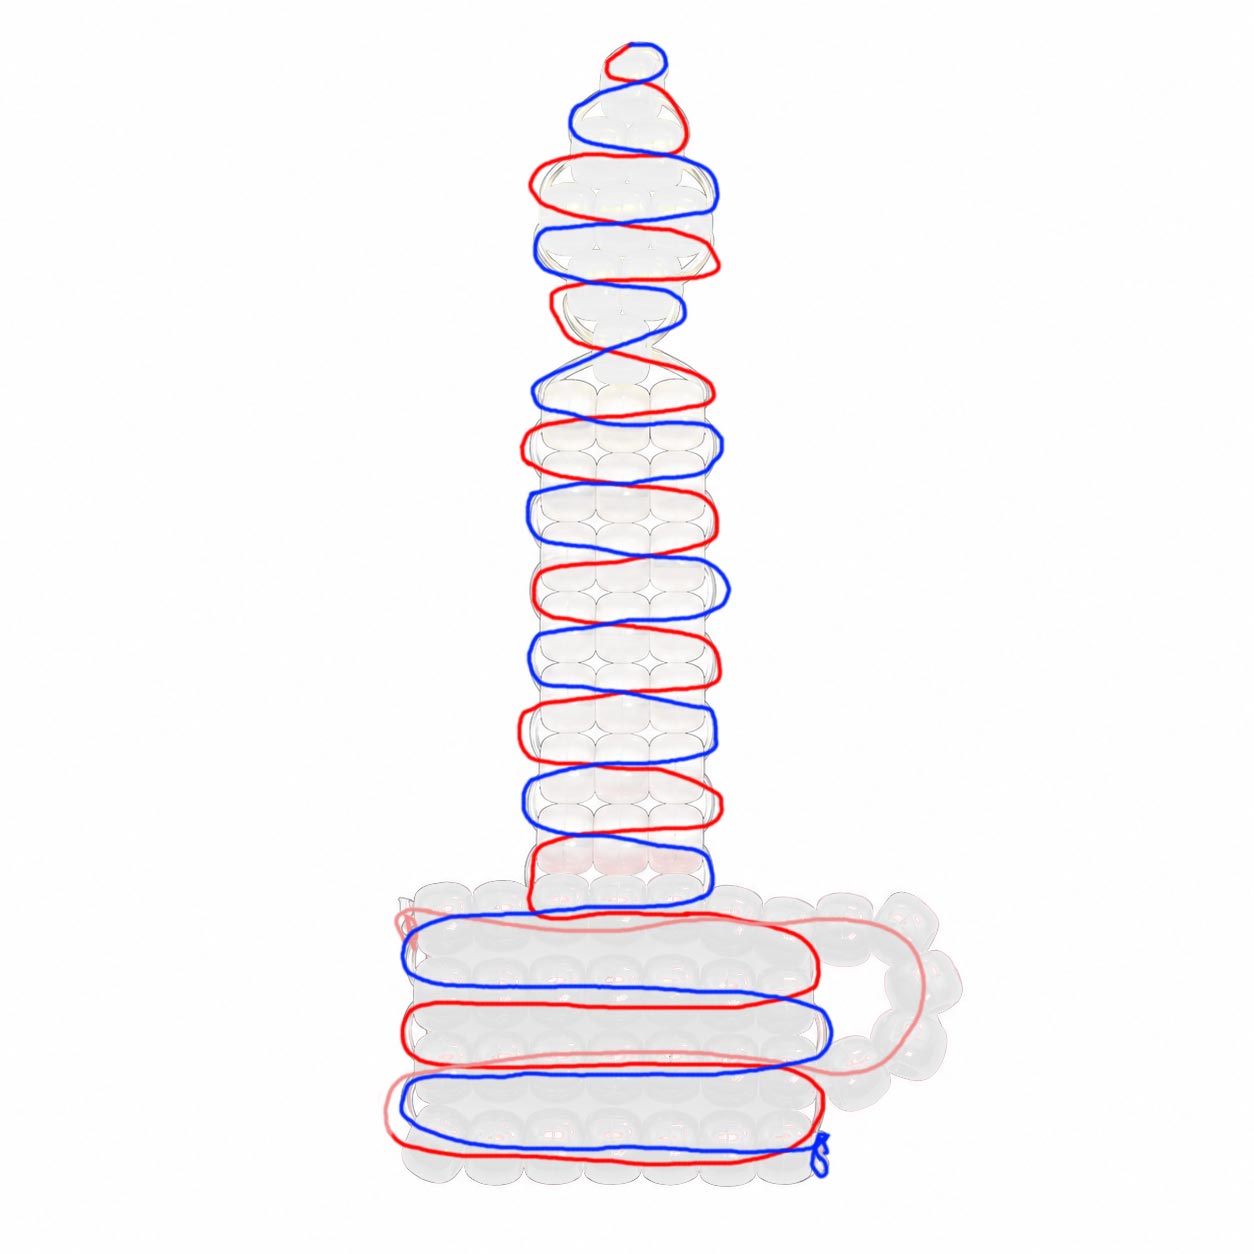
2. Using the beaded candle diagram below as your guide, begin weaving the rows of beads from the top of the candle. Thread the beads for your first row onto one cord, then pass the other cord back through those same beads from the opposite direction, as shown in the illustration. Pull both cords until the beads sit snugly together.
Note: The tension of your cord does make a difference. The rows should sit snugly together without being pulled so tightly that your candle begins to curl or twist. If a row doesn't sit straight, loosen it, straighten the beads and pull the slack out again.
3. Continue working your way down the candle, following the bead arrangement and cord paths in the diagram. You'll be making the flame, candle and holder as you work through the pattern.
4. When you reach the wider sections of the candleholder, take a look at how the rows are sitting together. If your candle isn't holding its shape as well as you'd like, you can weave a piece of pipe cleaner or wire through one of the wider rows for extra support. You may not need it at all, depending on the cord you're using.
5. When you finish the last row of the candleholder's base, tie off the shorter cord where it ends. Take the longer cord and thread it back through the previous row, then add 5 beads to make the handle. Thread that cord through the top row of the base, and tie it off there. Apply a drop of glue to the knots to prevent them from coming untied, then trim the excess cord when dry.
That's all there is to it!
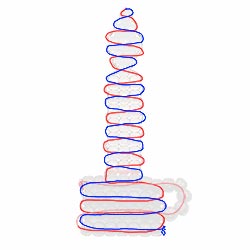
The illustration below uses red and blue to show how each side of your cord is woven through the beads. You can click it to open a larger version and refer to it as often as you need to.

Make a pair of earrings using this pattern substituting seed beads or E beads and a small gauge wire instead of the pony beads and cord. A miniature version might make a nice charm for a Christmas bracelet or a pair of holiday earrings.
Another idea is to use your finished Christmas ornament pony bead candle on a wreath or as part of a Christmas centerpiece. It could hang from a small tabletop tree or be attached to a decorative branch arrangement. You might also enjoy using one to decorate a holiday gift basket, where it can be kept as an ornament after the gift has been opened.
Before electric Christmas lights became common, some families decorated their Christmas trees with real candles. Special clips and holders were used to attach them to the branches, although the open flames created a serious fire hazard. Electric tree lights eventually offered a much safer way to enjoy that candlelit appearance. Little candle ornaments like this one are a reminder of those earlier Christmas decorating traditions.
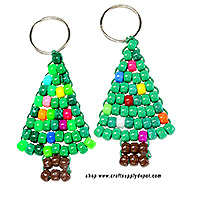
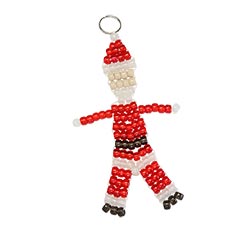
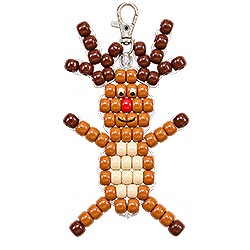
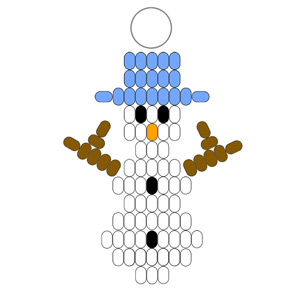
Looking for more Christmas pony bead projects? Here are more free patterns to make for ornaments, keychains and handmade Christmas decorations.