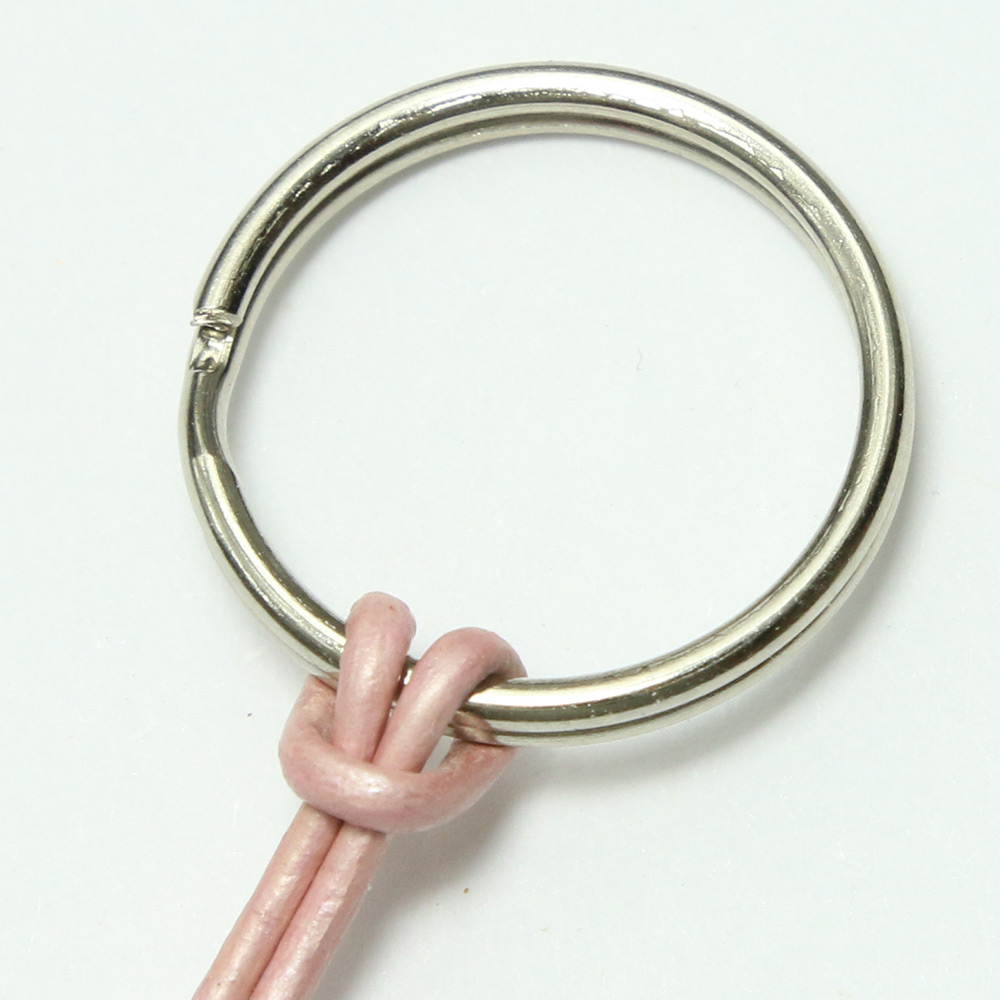
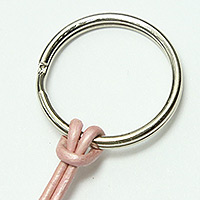
 1. Locate the halfway point of your cord or lacing and fold it in half. Attach the folded cord to your key ring using a lark's head knot as shown in the photo. You should now have two cords of about the same length hanging from the key ring.
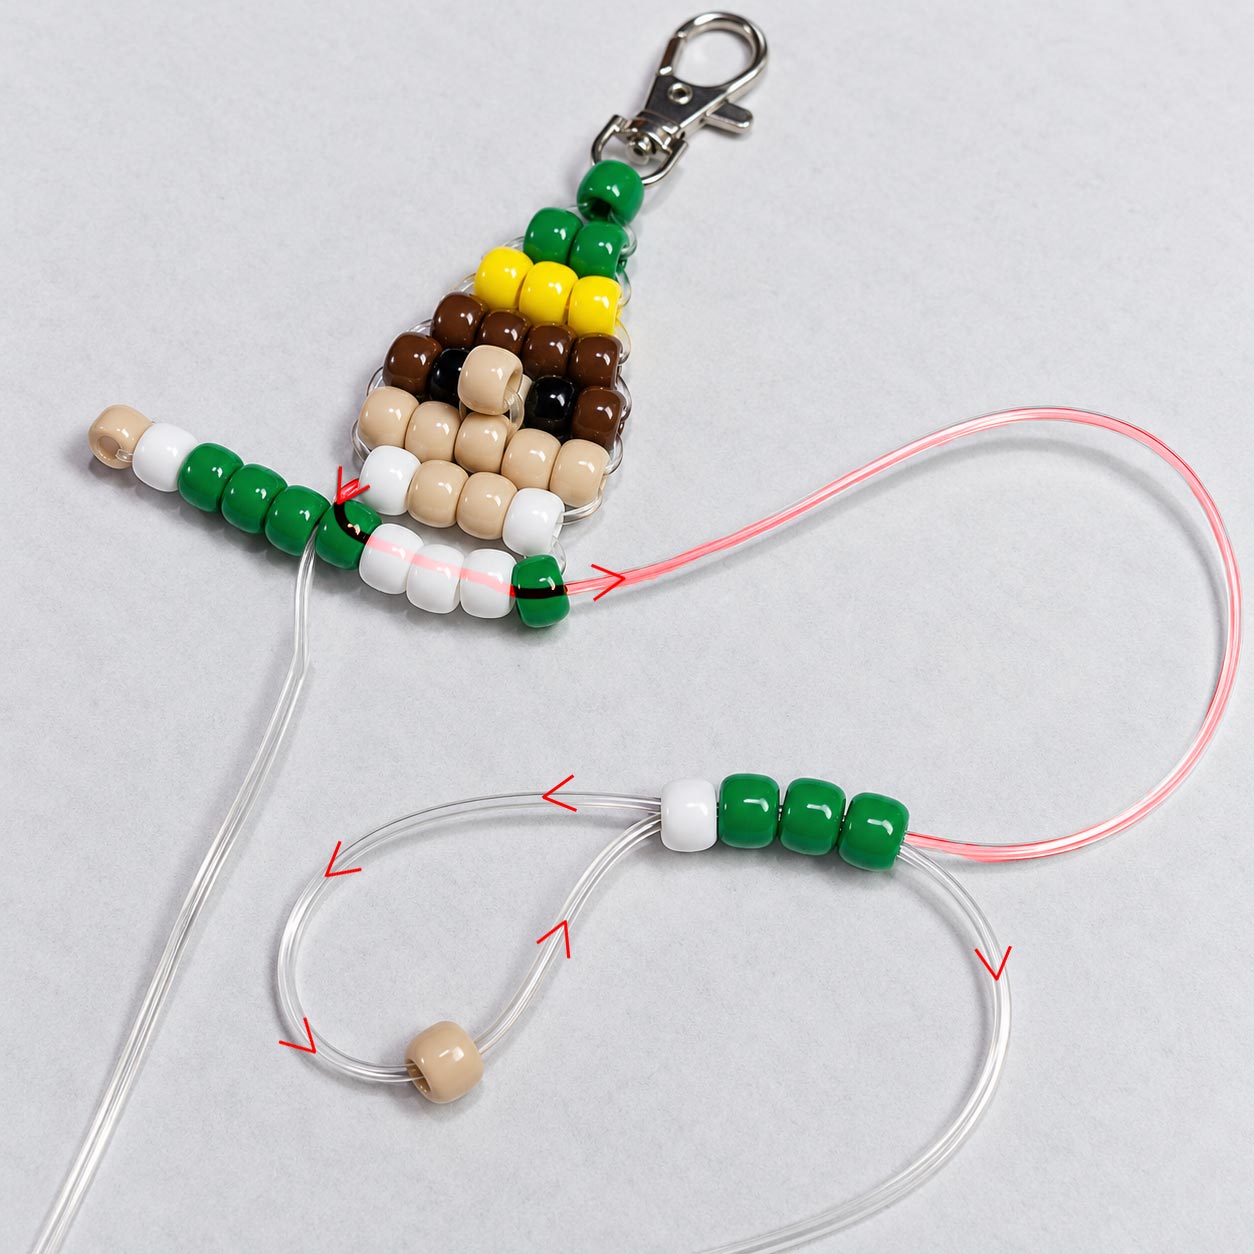
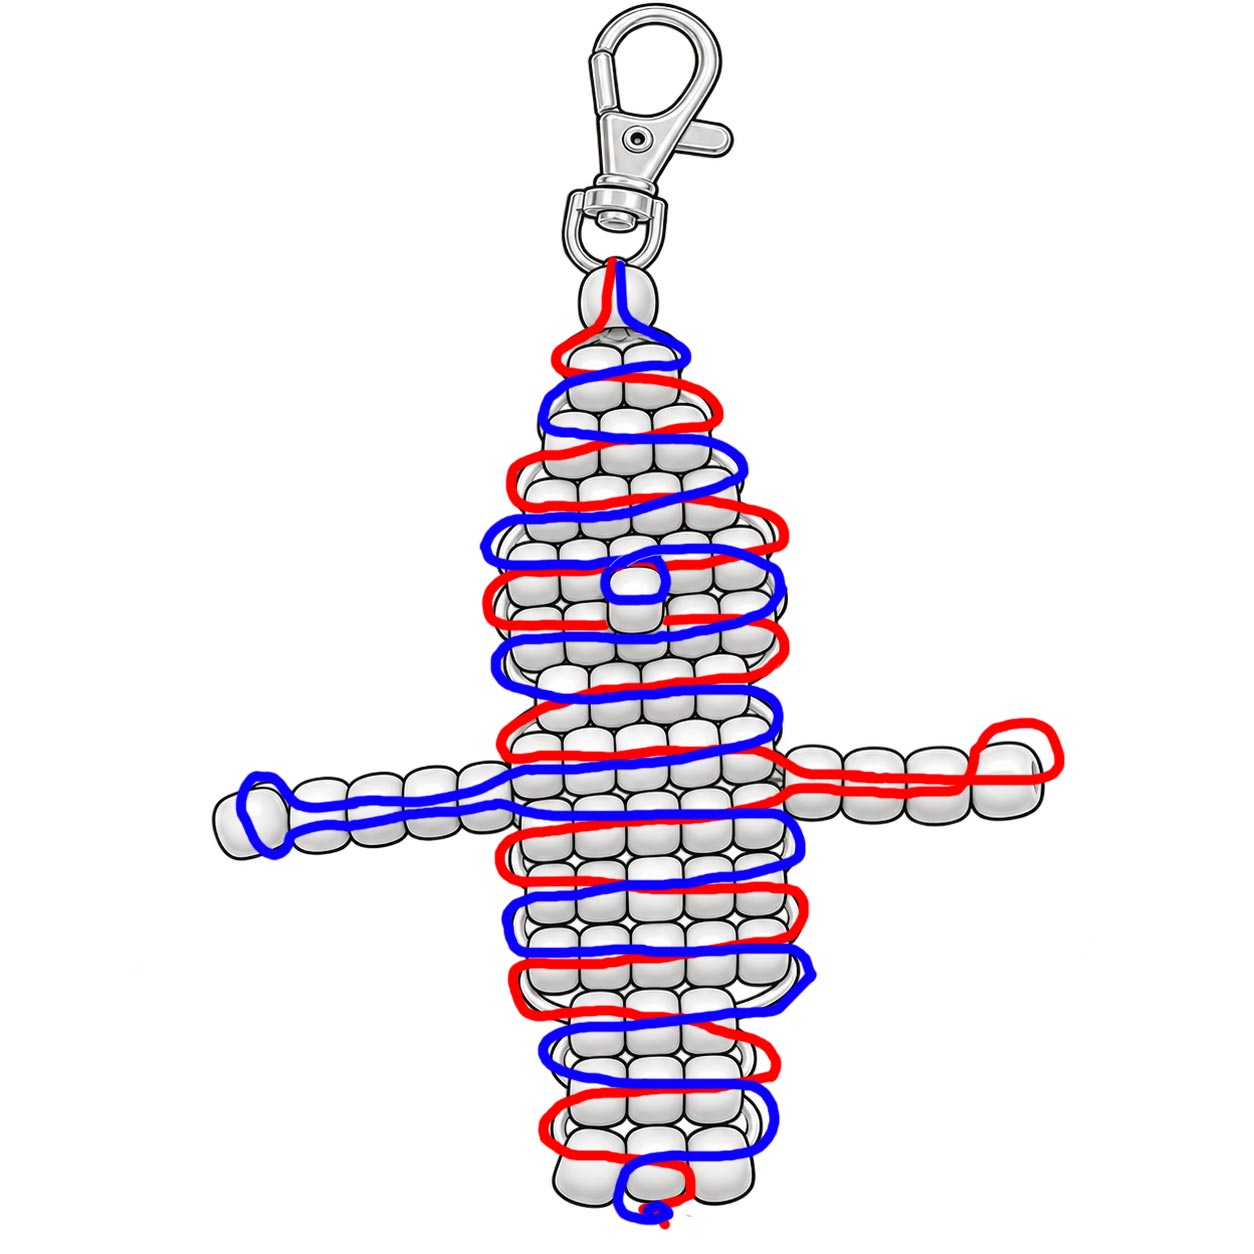
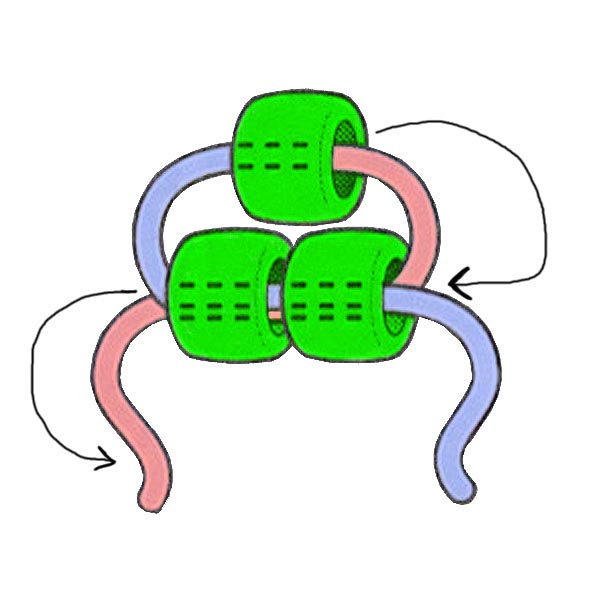 2. Using the bead diagram for the Elf keychain located at the bottom of these instructions, begin weaving the rows of beads one row at a time. Pass one cord through the row of beads, then pass the other cord through the same beads from the opposite direction as shown in the illustration. Pull both cords until the new row rests against the previous one.
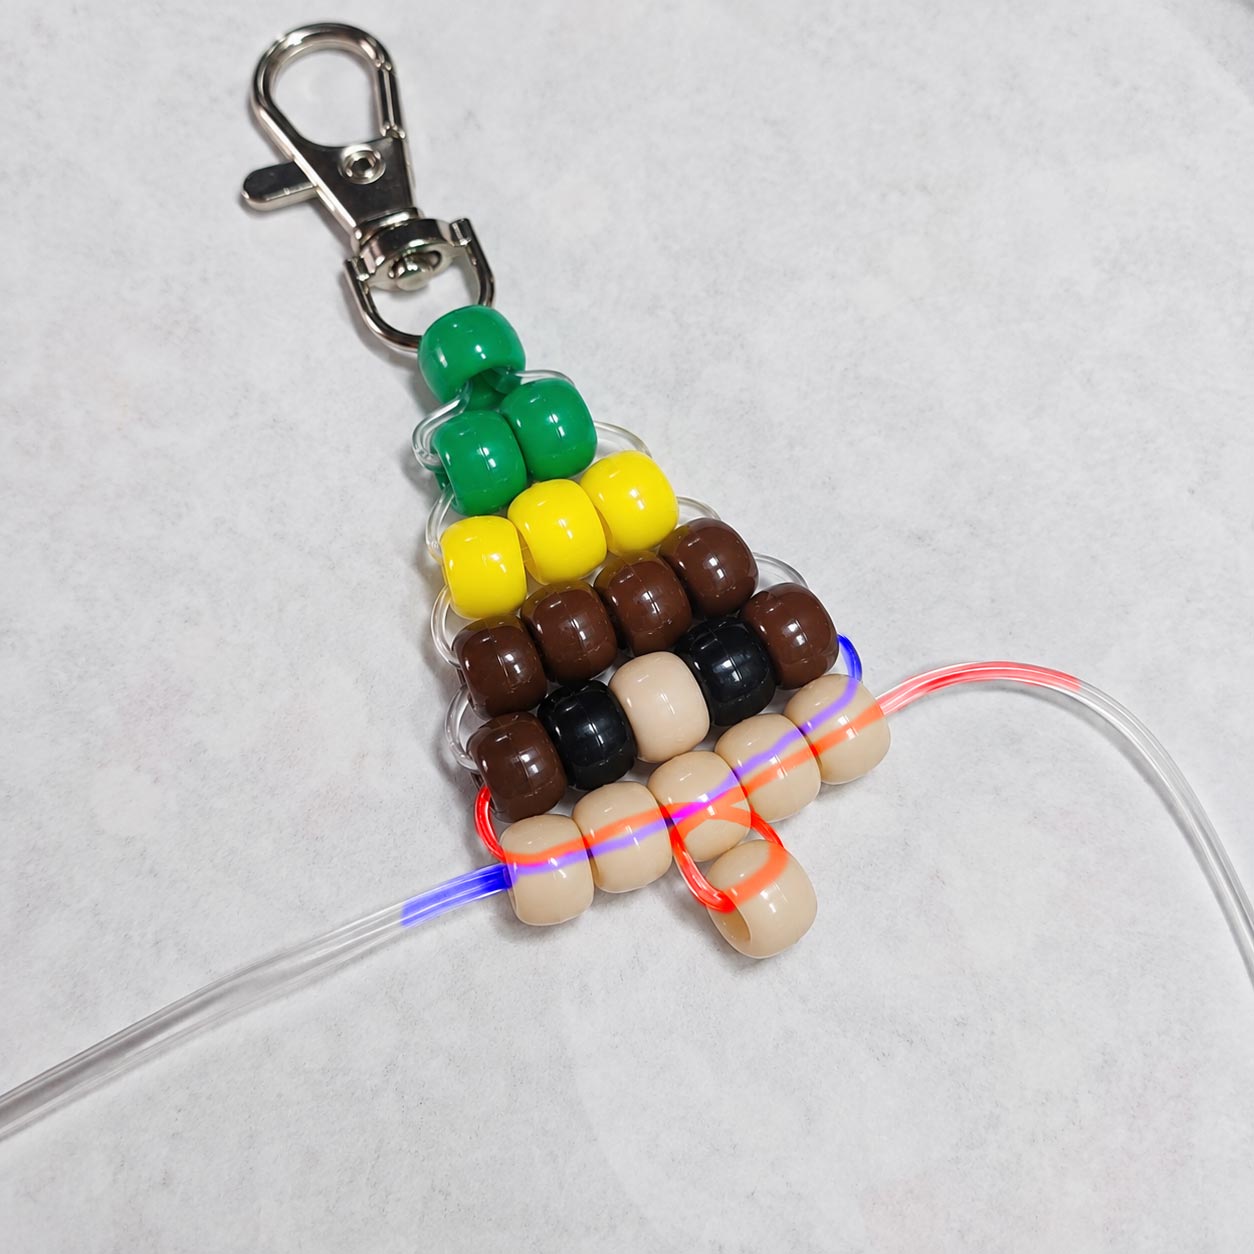
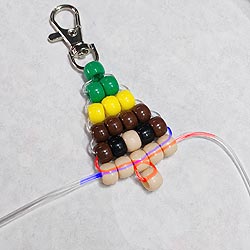 3. Continue following the Elf pattern from the top of his hat downward, to the nose. There is a little bit of difference where his nose goes. One side of your cord will pass through the row as usual. The other side of the cord, represented with the blue in the diagram, will go through the first 3 beads of the row, come out to the front, add another beige bead and then loop right back into the same 3rd bead and continue to the end of the row. This bead ends up sitting on the outside of the row. It will probably take a little working with the cord to get it to sit where it should in proportion to his face. Be sure to pull out the slack that sometimes happens on steps like this.
Note: The tension of your cord does make a difference. The rows should sit snugly together without being pulled so tightly that your elf begins to curl or twist. If a row doesn't want to sit straight, loosen it slightly, straighten the beads with your fingers and then pull the slack out again.
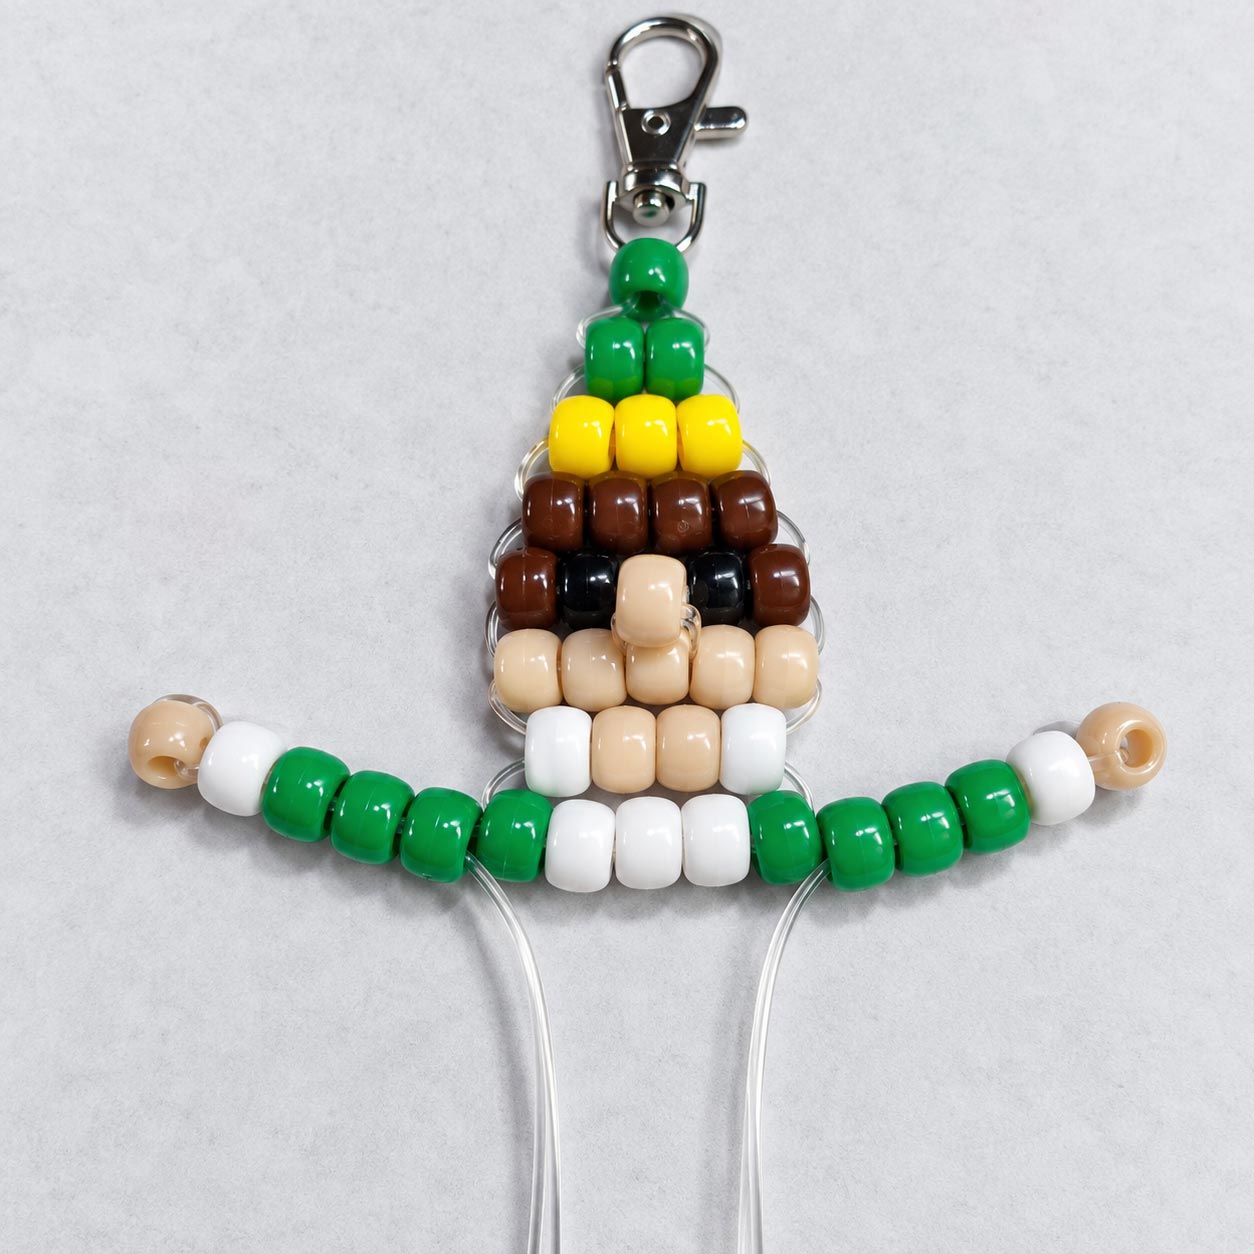
4. His arms are done using a single cord strand. Feed the 5 beads onto your cord. At the end loop your cord around the outside of the beige bead and feed it back through the other 4 beads, all the way back to the body. Repeat with the other cord for the other arm.
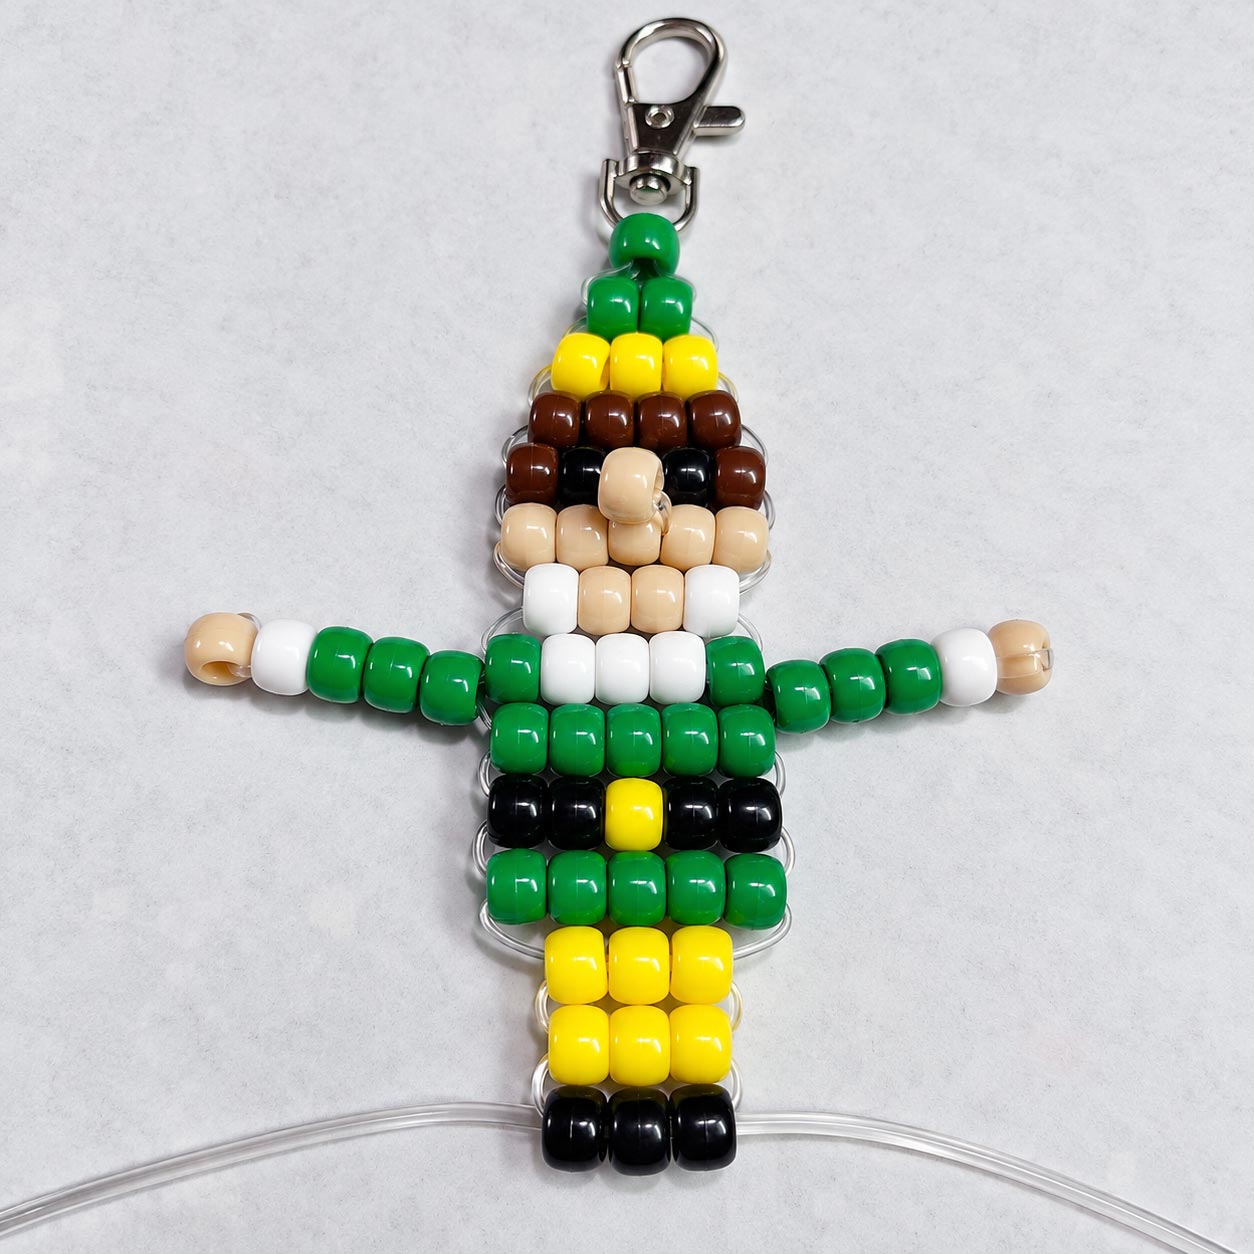
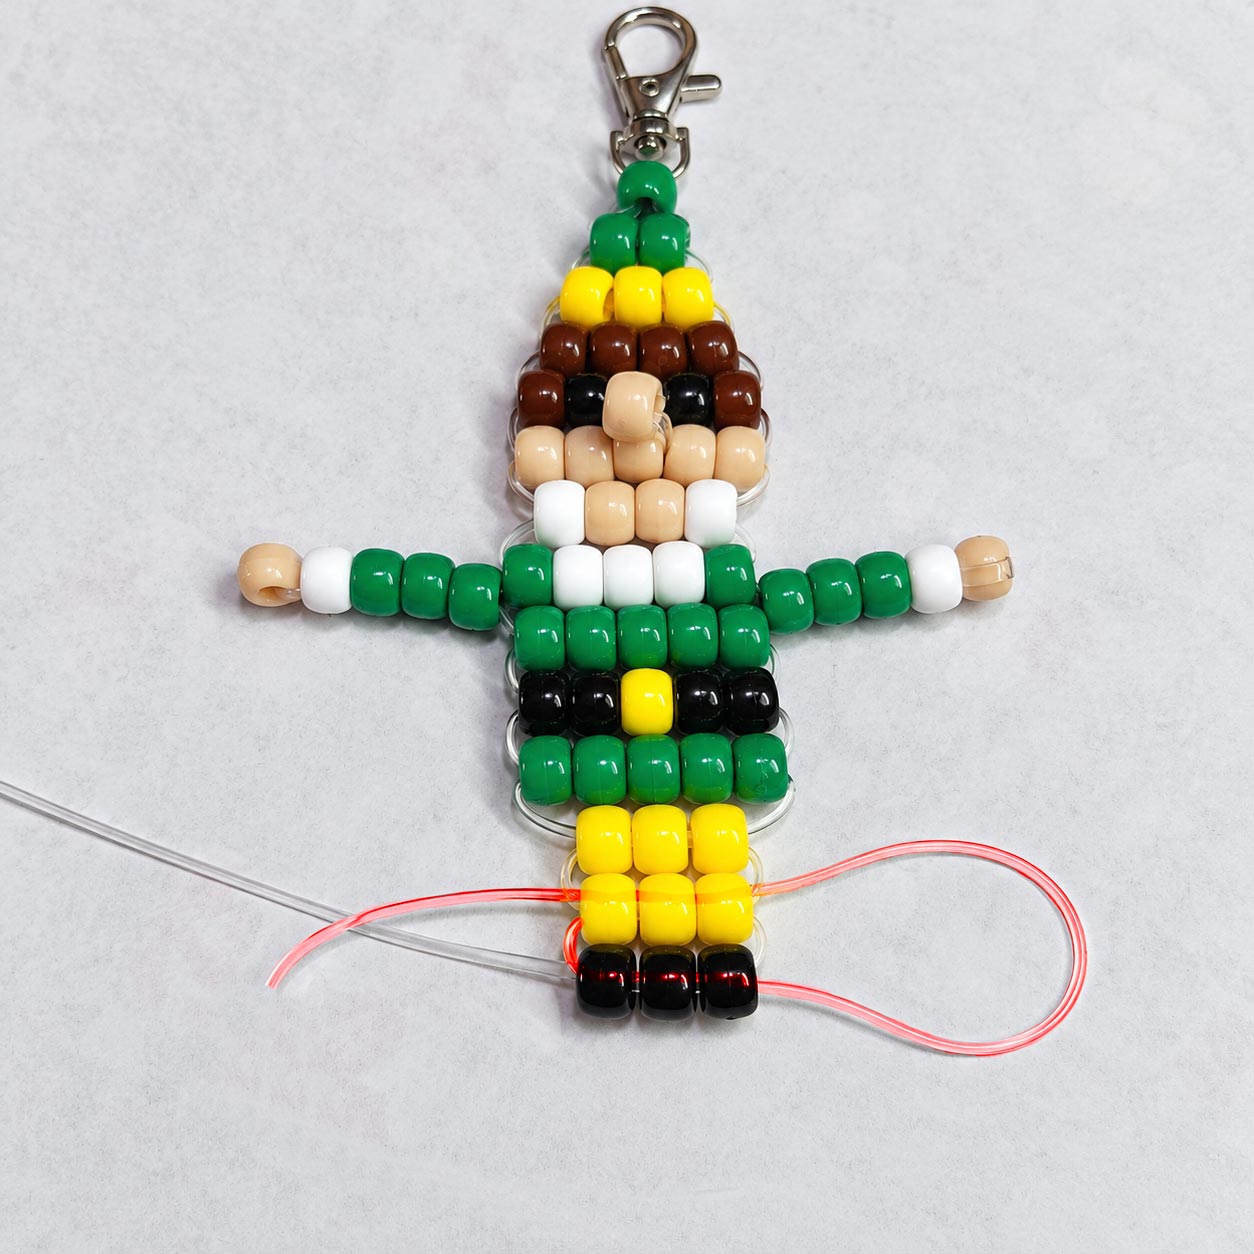
5. Continue to the bottom of the elf pattern. I like to finish these keychains so that the least amount of knotting shows so with this in mind, on the last row, feed each cord through only 2 of the 3 beads. Both cords will end up on each side of the center bead. Pull out the slack and tie together at the center bead.
Below are two options for finishing your elf. You can bring the cords out on opposite sides as shown in the first photo and tie them off separately, or follow the alternate cord path shown in the second photo to bring both ends out together and finish with one knot, making the knot less prominent.
6. Tie the cords together securely with a surgeon's knot or a good double knot. Add a small drop of craft glue to the knot to prevent it from coming undone during normal usage. Let the glue dry, then trim away the excess cord.
The diagram below uses blue and green to show the paths of the two ends of the cord. Click the diagram to open a larger version whenever you need a closer look.
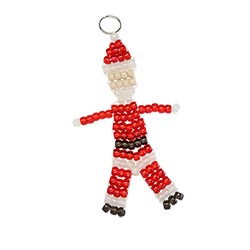
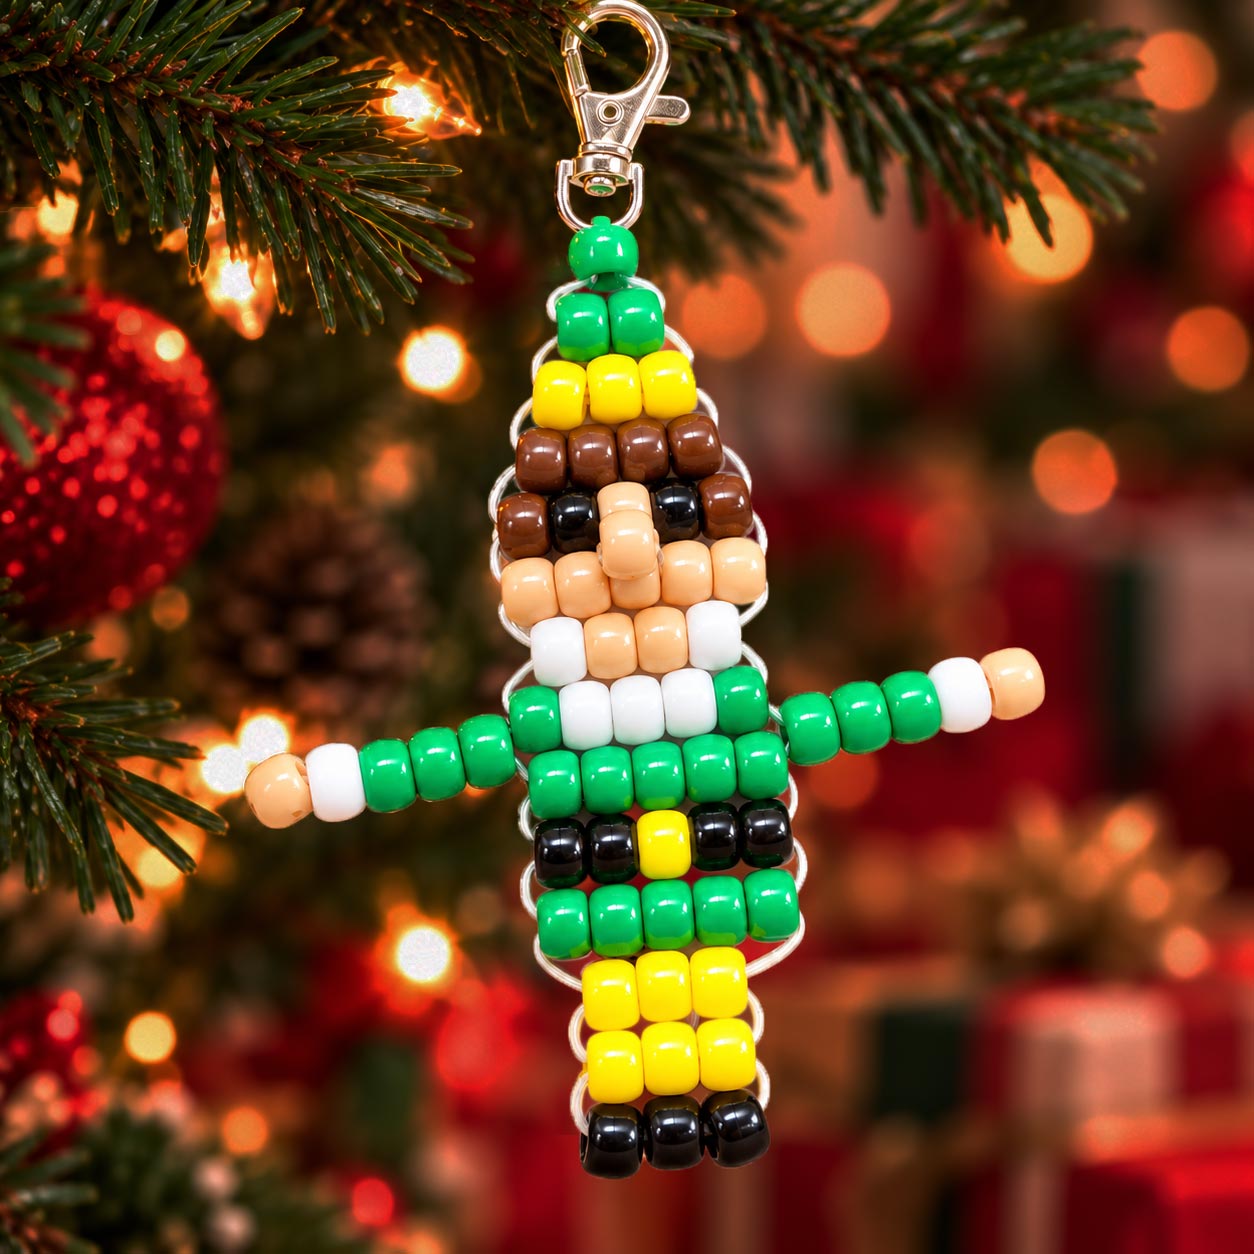
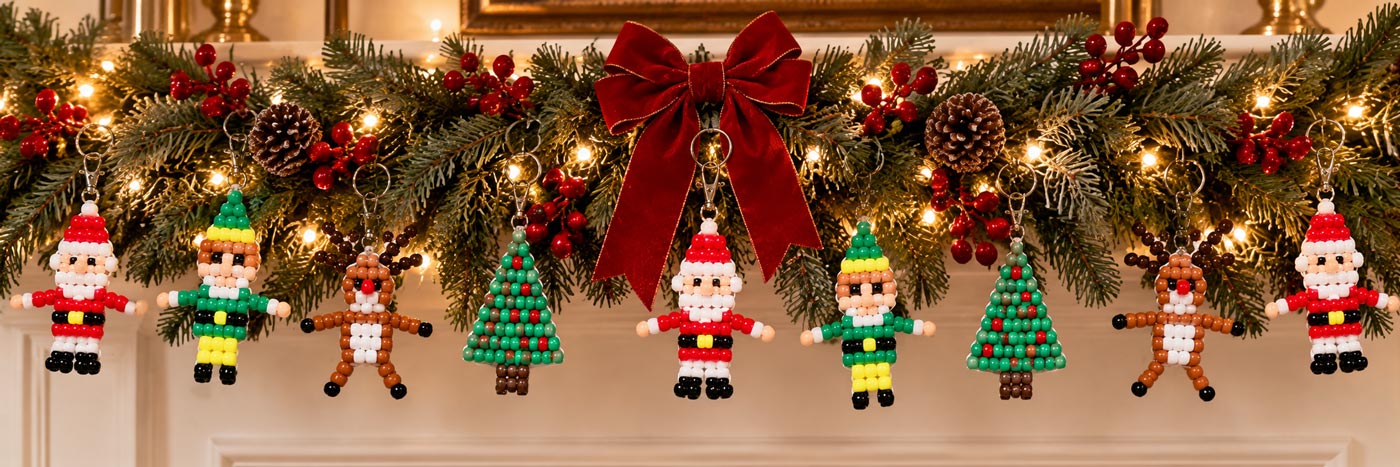
Carry your elf with you as a keychain or backpack charm, hang him from a rear view mirror, or turn him into a Christmas ornament. Pony bead elves also make fun little decorations for gift packages, garlands, wreaths, mantels, windows and holiday displays. Make a few elves in different colors, or add Santa, reindeer and Christmas trees to build a collection of handmade bead characters for a classroom tree, family Christmas tree or anywhere else that could use a little Christmas cheer.

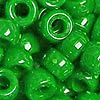 21 - Green Pony Beads
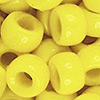 10 - Yellow Pony Beads
 6 - Brown Pony Beads
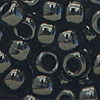 9 - Black Pony Beads
 7 - White Pony Beads
 11 - Beige or Tan Pony Beads
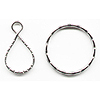 1 - Key Ring
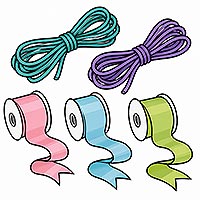 5 feet
 Scissors
 Ruler or Measuring Tape
 Craft Glue