In business since 1985. Online since 1994. We sincerely thank you for supporting family owned, family operated businesses!
Give us a call from 8am to 6pm Mon-Fri. We are available to answer questions or to take your order.
(361) 645-3325
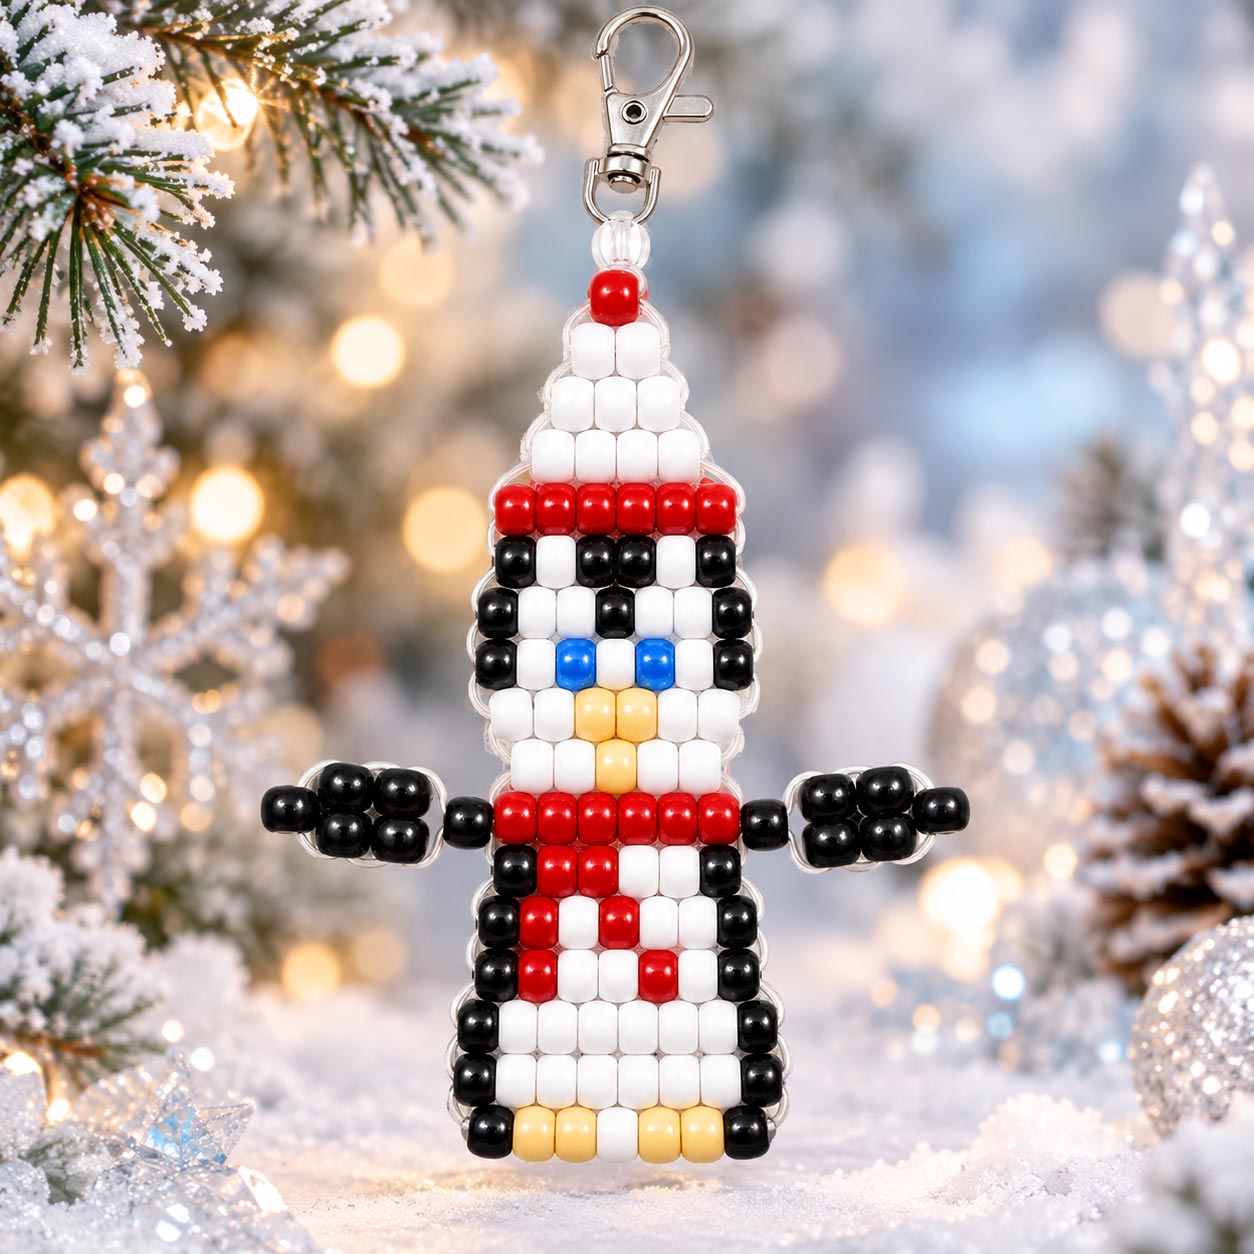
Meet Our Adorable Little Beaded Penguin!
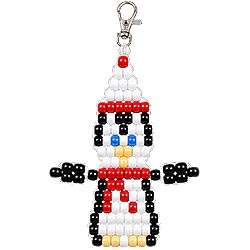
Who can resist a cute little penguin? With his little orange feet, cheerful blue eyes, and colorful winter outfit, this little fellow is ready to waddle right into your collection of pony bead characters! Our free pony bead penguin pattern makes it fun to create your own, one bead at a time.
Penguins make wonderful winter decorations, and this one is especially cute hanging among the lights on a Christmas tree, decorating a holiday wreath, or joining other beaded characters on a festive garland. He can also brighten a window, backpack, or anywhere you'd enjoy a little penguin company.
Imagine a whole collection of handmade penguins hanging together, each ready to bring a little winter cheer! This is a fun project to share with family and friends, and a delightful addition to your collection of homemade Christmas ornaments and pony bead crafts.
If you make this project please share your photos with us. With your permission we'll add it to the page and credit it to you.
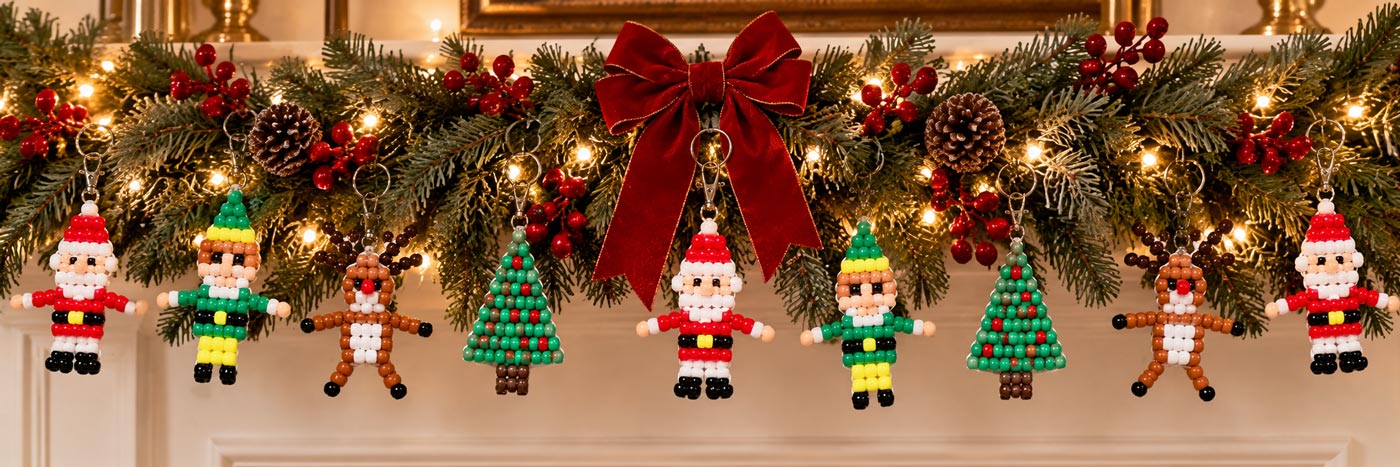
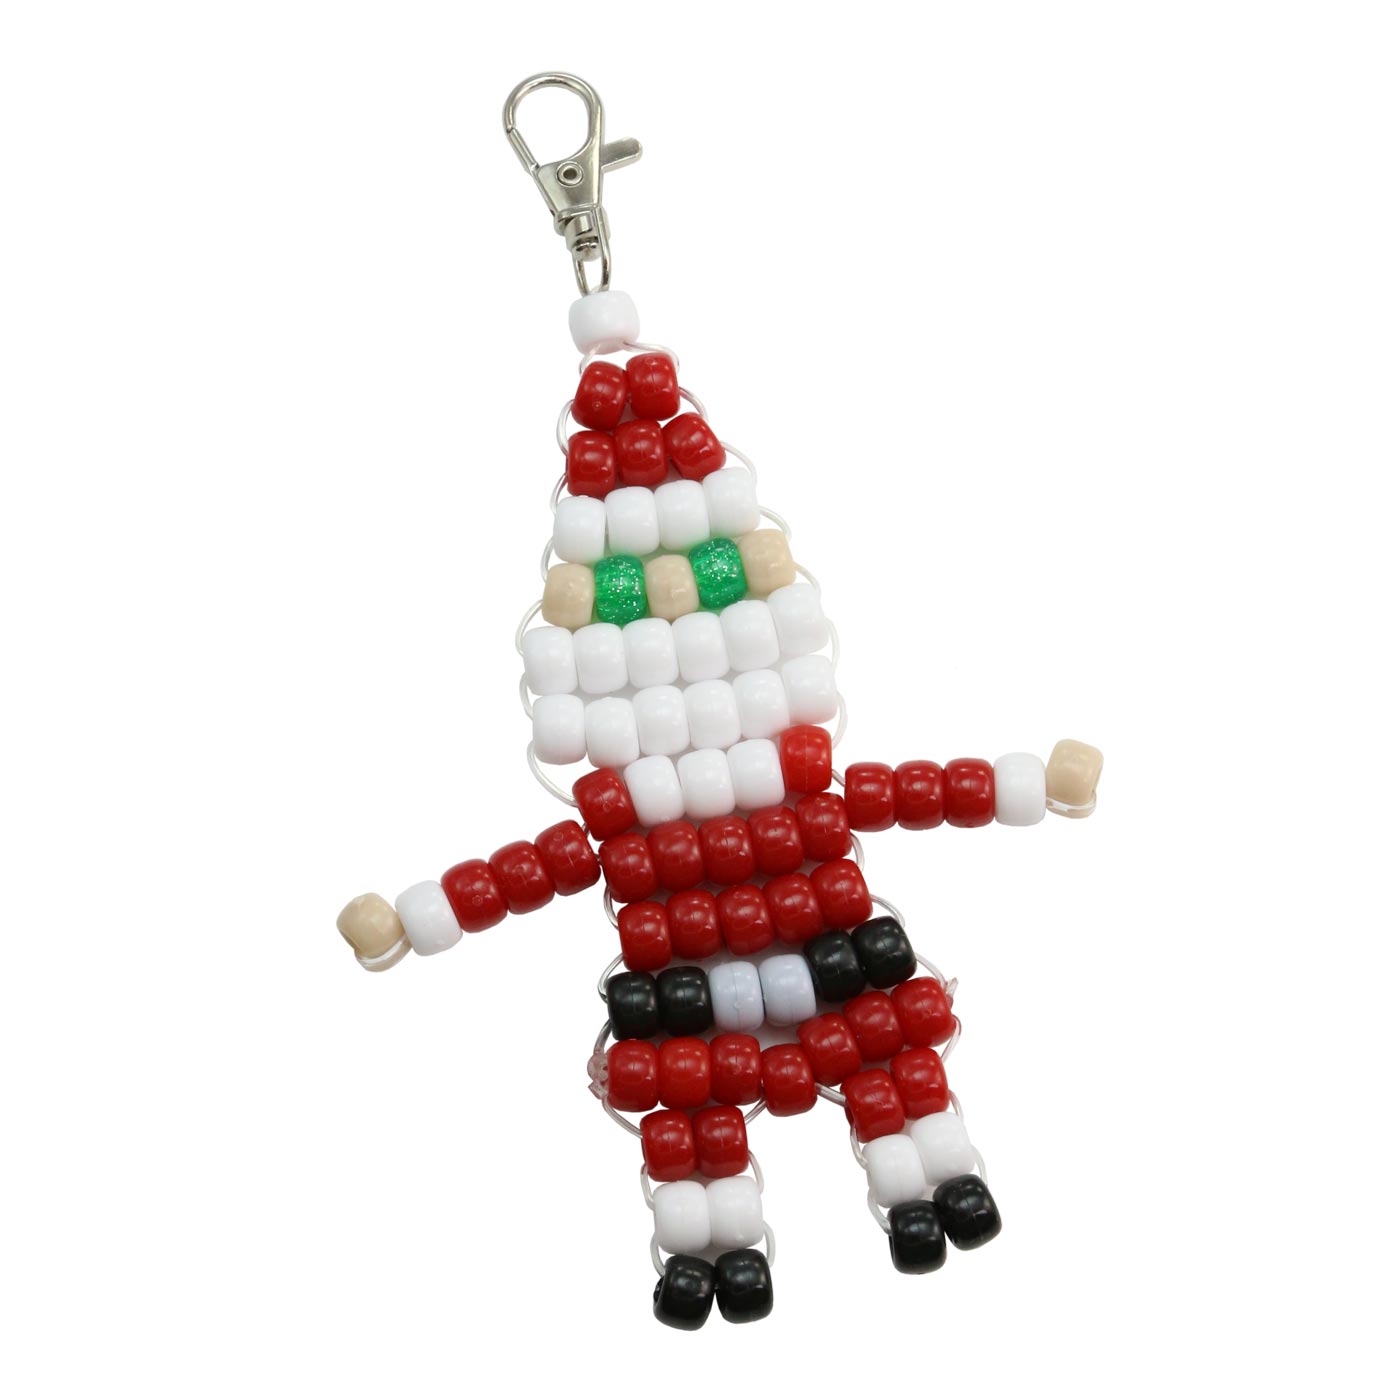
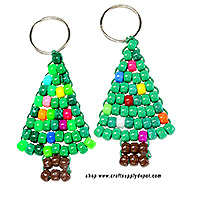
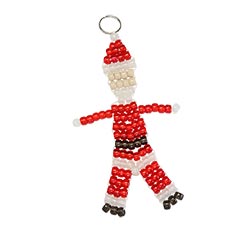
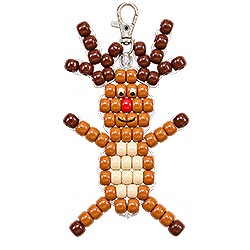
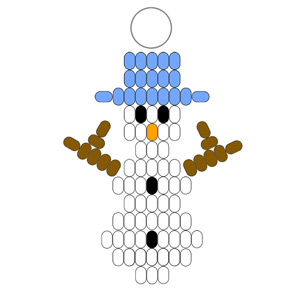
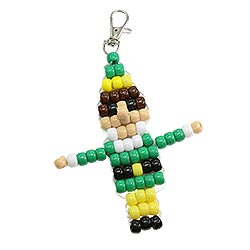
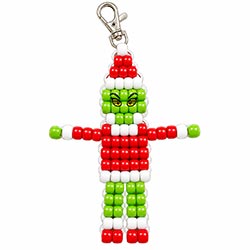
Here is a fun idea for taking these easy to make characters to another level. Combine several Christmas pony bead characters into a handmade garland, holiday swag or ornament strand. Mix Santas with elves, reindeer, Grinch, Christmas trees and other holiday designs, then hang them from ribbon or cord, place them into greenery, or space them along a strand of Christmas lights. A beaded Christmas garland can drape across a mantel or doorway, decorate a wall or window, or wrap around a Christmas tree. It could even become a group project, with each person making a different character to add to the finished Christmas decoration.
Some craft patterns have been around long enough that their original colors and materials may look dated. Often it's the presentation, not the project. Today's colors, finishes and materials can give an older craft an entirely new personality.
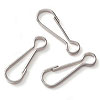
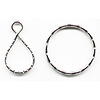
1 - Lanyard Hook
OR
1 - Key Ring
Cord - Approximately 2 1/2 yards
There are lots of different types of cord you can use for your beaded penguin. Of the cords we've tried, flat plastic lacing such as Rexlace (also called boondoggle or plastic lace) seems to work best for helping the beads sit neatly together and keeping your finished penguin in shape. Round cord about 1 1/2mm to 2mm thick also works well. If you choose a thinner cord, you can weave a little wire or a pipe cleaner into your ornament if your penguin doesn't hold his shape well.
Helpful Hint: If your cord ends fray easily, try dipping them into a little melted wax and smoothing them out with your fingers. This helps prevent fraying and creates stiffer ends for threading through your beads.
2mm Metallic Cord
1 - Clear Pony Bead
19 - Red Pony Beads
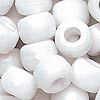
47 - White Pony Beads
33 - Black Pony Beads
2 - Blue Pony Beads
7 - Orange Pony Beads
Glue (We used super glue.)
Scissors
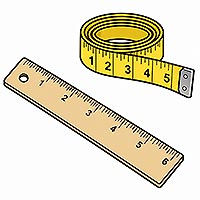
Ruler or Measuring Tape
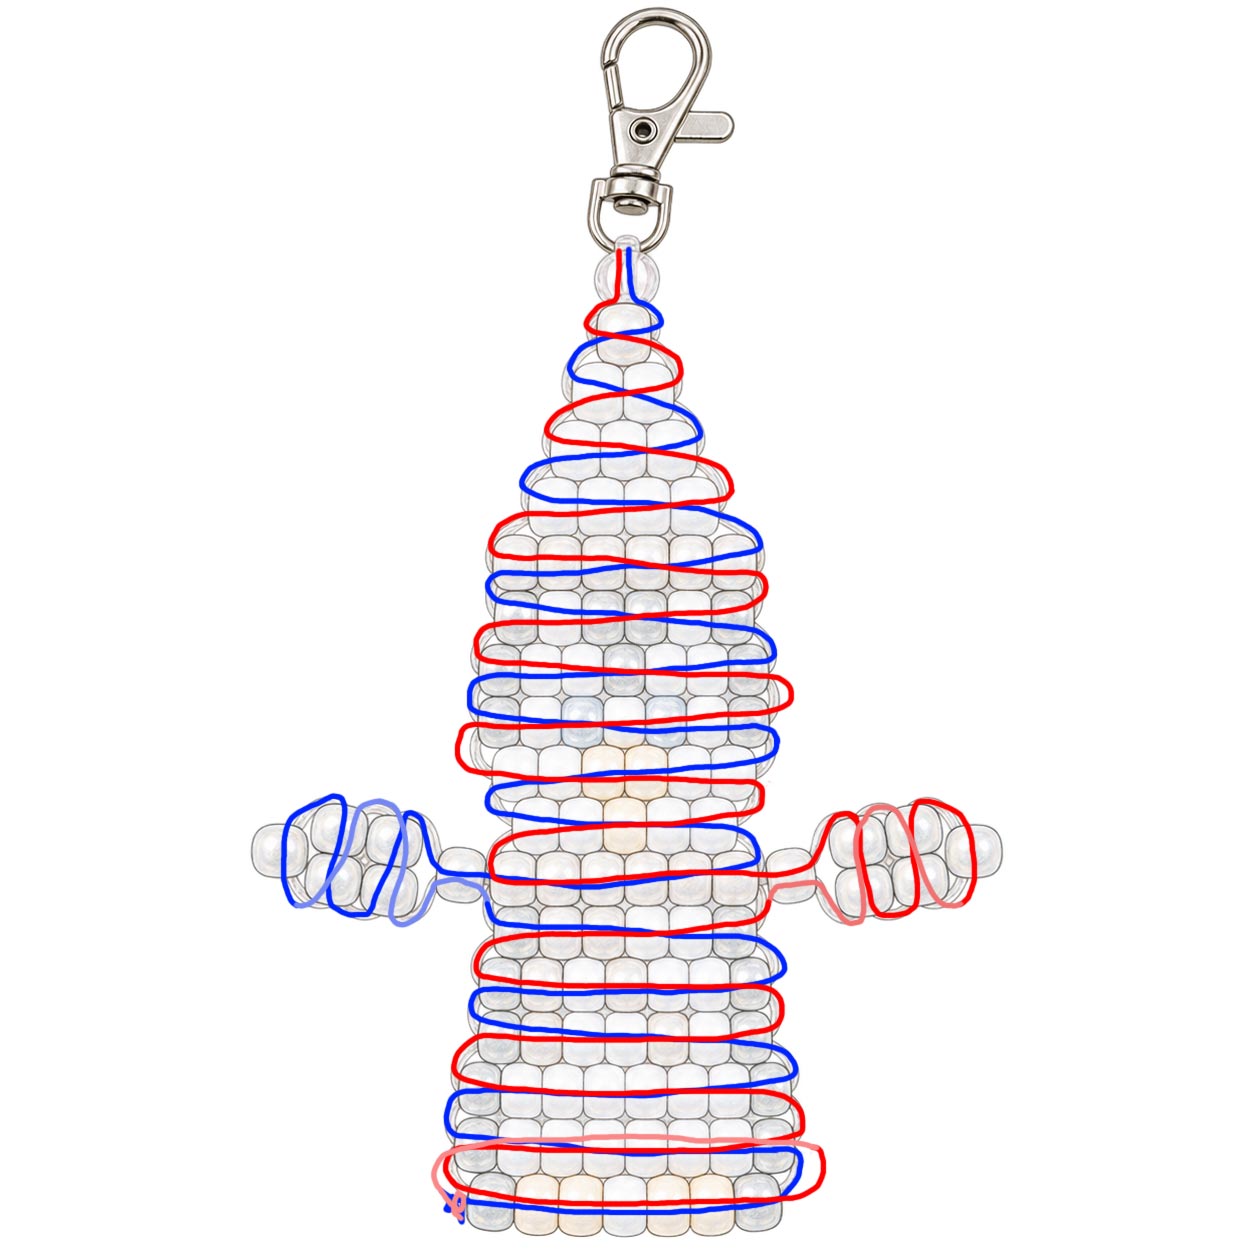
1. Pass your 2 1/2 yards of cord through the bottom hole of the lanyard hook or key ring. Bring the two ends together so they are even. Thread both ends through the clear pony bead, then slide the bead up the cords until it rests against the lanyard hook or key ring. The clear bead provides a neat starting point for your penguin without adding a noticeable bead above his hat.
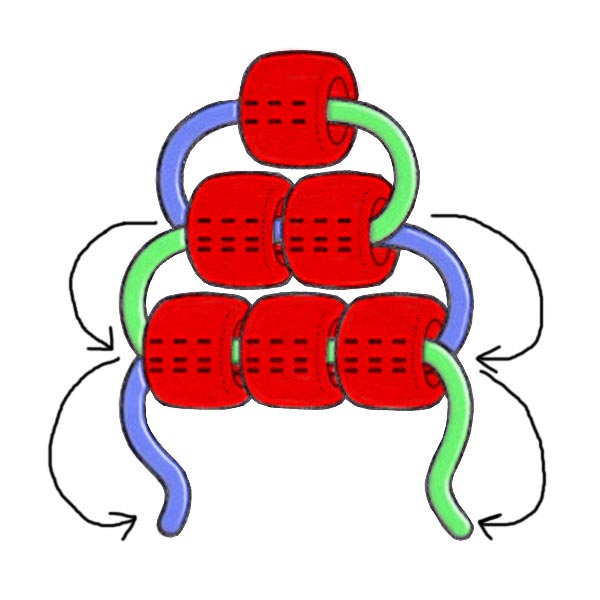
2. Follow the penguin bead diagram below, beginning with the first row beneath the clear bead. Thread the beads for each row onto one cord, then pass the other cord back through those same beads from the opposite direction. Continue this process, row by row, until you've completed the penguin's feet.
Note: The tension of your cord does make a difference. The rows should sit snugly together without being pulled so tightly that your penguin begins to curl or twist. If a row doesn't sit straight, loosen it, straighten the beads with your fingers and pull the slack out again.
3. Continue weaving until you've completed the last row of your penguin's feet.
4. I always try to make the tie-off knot(s) as inconspicuous as possible. Sometimes that means it is a little more complicated, so I decided to show you both ways and let you decide how you prefer to finish your penguin:
Whichever method you choose, add a small drop of glue to the knot(s) and trim the excess cord after the glue has dried.
If you are feeling creative and want to give your penguin a little extra personality and dimension try gluing small pom-poms along the red band of his winter hat on both sides. Then for his scarf you can also cut a length of ribbon or braid a few strands of yarn together and tie them around his neck. How adorable does that sound!
Your little beaded penguin is ready to join the fun! Hang him on your Christmas tree, add him to a holiday wreath or winter garland, or enjoy him as a cheerful decoration all winter long.
The diagram below shows the bead arrangement for your penguin. Click the image to see the larger pattern.
Looking for more Christmas pony bead projects? Here are more free patterns to make for ornaments, keychains and handmade Christmas decorations.