Craft Supplies - Craft Supplies Online - Buy Craft Supplies
Quality Craft Supplies Ranging From the Usual to the Not So Usual, Delivered To Your Door
Excellent Customer Service - Fast Shipping - Online since 1994!

In business since 1985. Online since 1994. We sincerely thank you for supporting family owned, family operated businesses!

Give us a call from 8am to 6pm Mon-Fri. We are available to answer questions or to take your order.
(361) 645-3325

Pony Bead Santa Keychain Pattern and Instructions

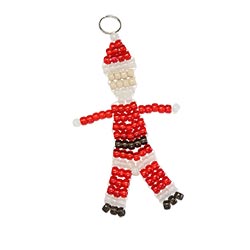
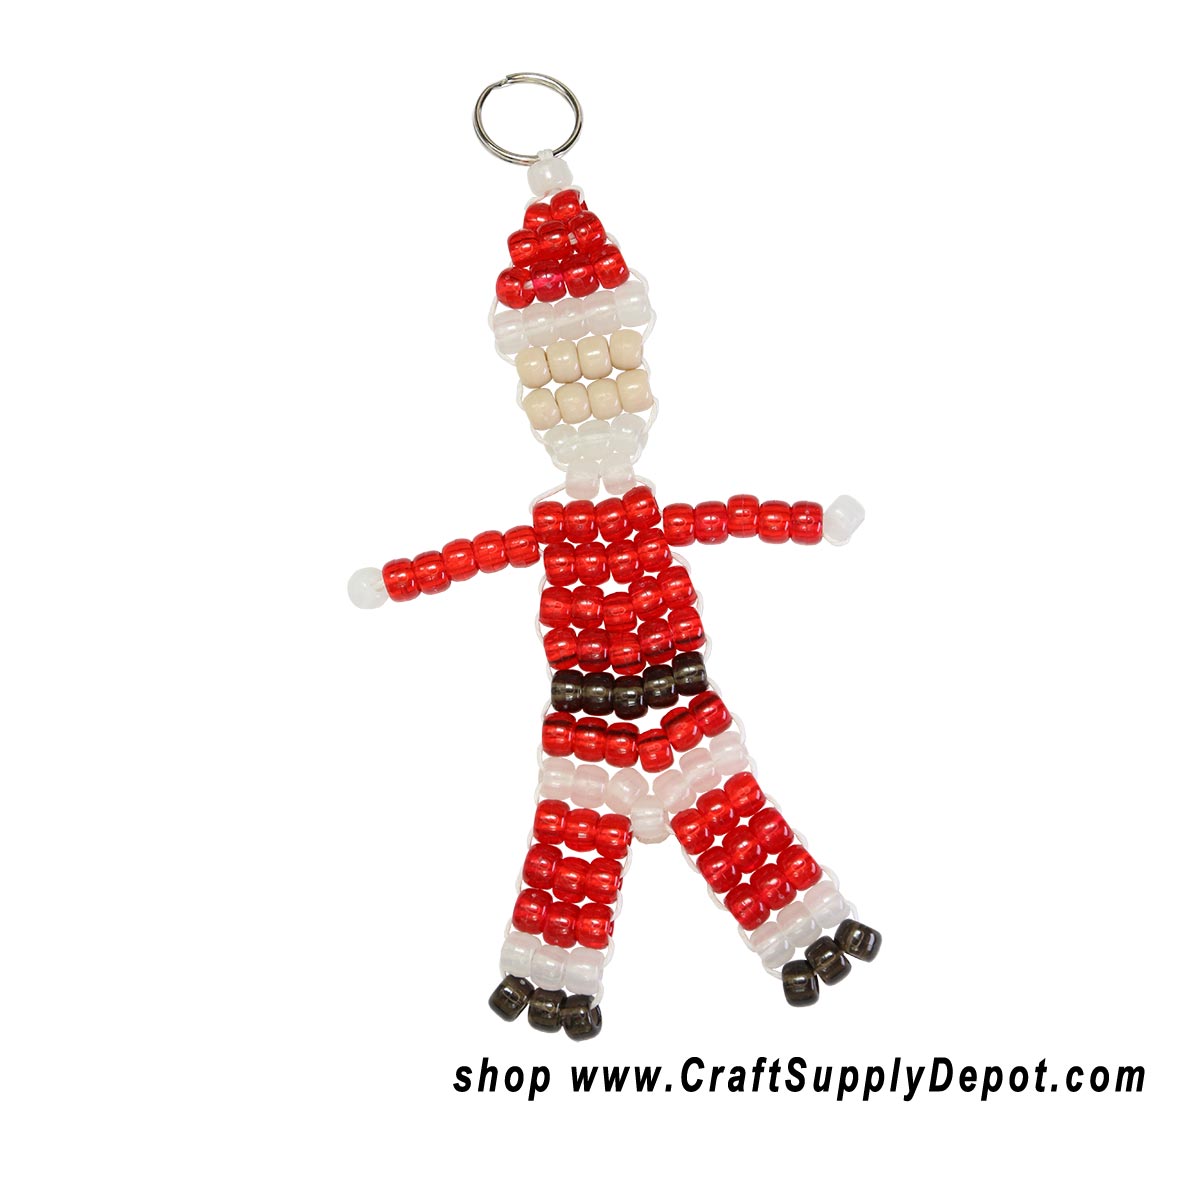
Make a jolly little Santa Claus from pony beads for a Christmas keychain, ornament or holiday decoration. This beaded Santa is made with the familiar row-by-row pony bead weaving technique, creating a Santa figure complete with his red suit, Santa hat, white beard and black boots.

Attach your finished Santa to a key ring for a Christmas keychain, hang him from a backpack or zipper, or give him a place on the Christmas tree as a handmade ornament. Make several and you can use them as package decorations, stocking stuffers, party favors or small handmade gifts. A group of beaded Santas can also become part of a larger Christmas display, garland or holiday window decoration and is perfect for classroom decorating.

Don't feel that attaching a key ring means Santa has to spend the rest of his life holding keys. The ring also gives you an easy way to hang him almost anywhere. Add ribbon, cord, an ornament hook, a clip or another connector to suit where you want him to go.

The pattern is worked one row at a time, so you can follow the bead diagram at your own pace and check each row before moving to the next. If you've made pony bead keychains before, the construction will be familiar. If you haven't, the instructions and weaving illustrations below will help you see how the two ends of the cord travel back and forth through the rows to build Santa from the top of his hat to the bottom of his boots.

If you make this project please share your photos with us. With your permission we'll add it to the page and credit it to you.

Bonus Information You Didn't Ask For
Did You Know?

Early beads were made from natural materials such as shell, bone, stone, wood and glass. With the development of synthetic plastics in the late 1800s and early 1900s, manufacturers gained a material that could be molded into beads in an enormous variety of shapes and colors. Later plastics, including acrylic, made colorful beads inexpensive, lightweight and easy to mass produce—helping turn them into the familiar craft-room staple we know today.

Gather Your Supplies

Note: To help you locate the material required for this project, some of the materials listed may be linked to this or other websites and may contain affiliate links.
    • White Pony Beads 24 - White Pony Beads (Used for Santa's beard, hat trim and suit trim.) We used a glow-in-the-dark white, because it was not an overpowering white color but opaque white or even a crystal would work well.
    • Red Transparent Pony Beads 61 - Red Pony Beads (We used translucent red beads for Santa's hat and suit, but opaque, pearl, glitter or another red can be used instead. I am having visions of a new santa with red glitter suit.)
    • Beige or Tan Pony Beads 8 - Beige or Tan Pony Beads (Used for Santa's face. You could use brown, ivory or other color just as easily.)
    • Black Pony Beads 11 - Black Pony Beads (Used for Santa's belt and boots. We used smoke black, a translucent color.)
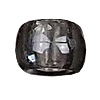
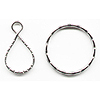
    • Key Rings for Beaded Keychains 1 - Key Ring
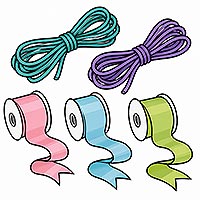
    • Craft Cords for Pony Bead Projects 5 feet of smooth 2mm leather cord, pony bead cord, plastic lacing, satin cord, or similar stringing material.
    • Craft Scissors Scissors
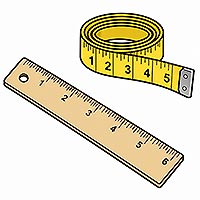
    • Ruler for measuring craft cord Ruler or Measuring Tape
    • Craft glue Craft Glue

How To Make It

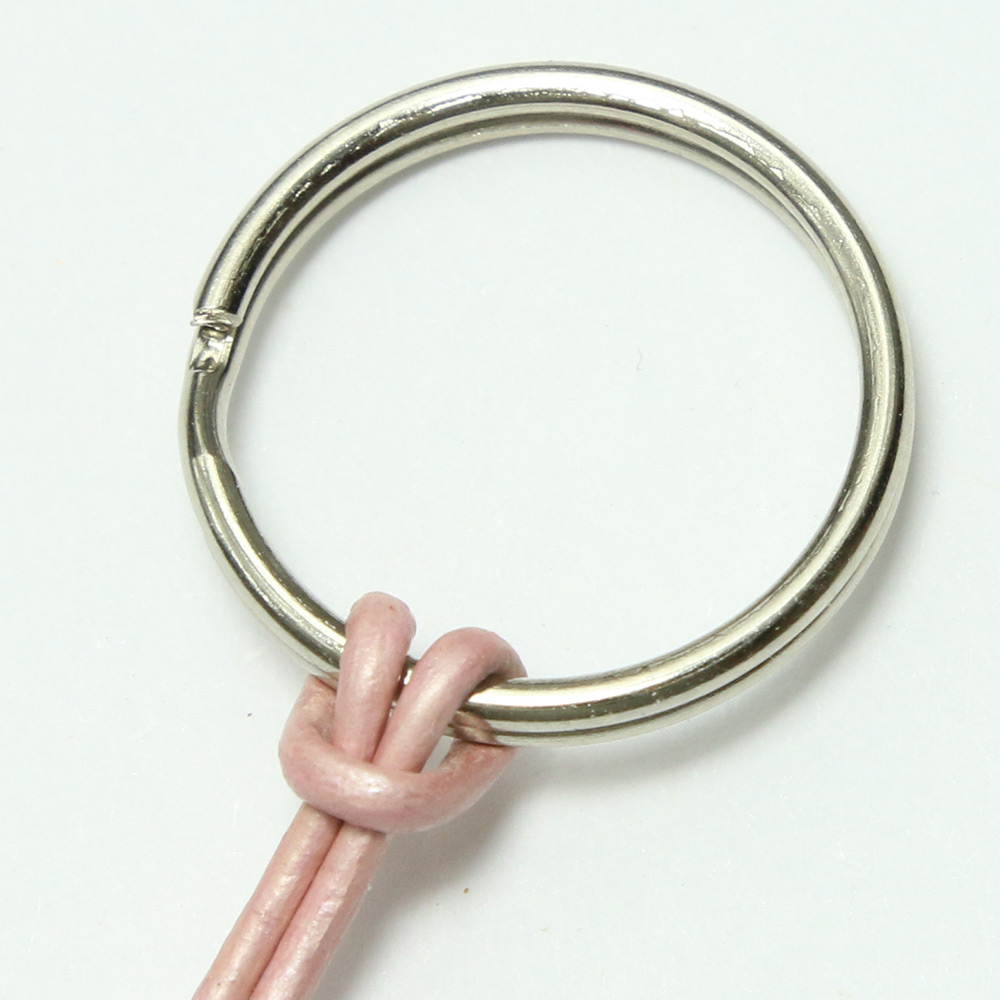
Connect your cord to your keyring with a Lark's Head knot.1. Locate the halfway point of your cord or lacing and fold it in half. Attach the folded cord to your key ring using a lark's head knot as shown in the photo. You should now have two cords of about the same length hanging from the key ring.
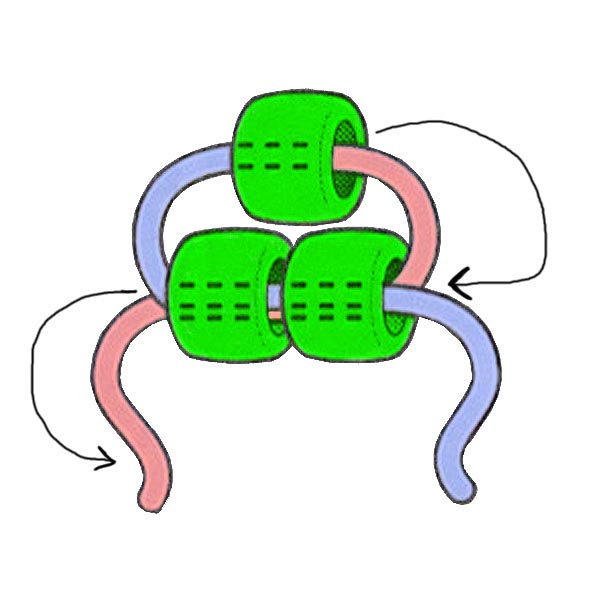
Begin weaving rows of pony beads2. Using the bead diagram for the Santa keychain located at the bottom of these instructions as your guide, begin weaving the rows of beads one row at a time. The first bead is done differently in that you thread both of your cords into the first bead, then pass one cord through the row of beads, then pass the other cord through the same beads from the opposite direction as shown in the illustration. Gently pull both cords until the new row rests against the previous one.

3. Continue following the Santa pattern from the top of his hat downward. As you finish each row, check the bead colors and count before pulling everything snug. It is much easier to discover that Santa has an extra bead in his hat while you are still working on that row than after you have added several more below it.

4. Keep the tension on the two cords fairly even as you work. The rows should sit snugly together without being pulled so tightly that Santa begins to curl or twist. If a row doesn't want to sit straight, loosen it slightly, straighten the beads with your fingers and then gently tighten the cords again.

5. Continue through Santa's face, beard and suit, following the bead placement shown in the diagram. When you reach his arms and legs, take a little extra time to follow the cord path in the pattern. These areas branch away from the main body and thread back through themselves again before continuing the body.

6. For the legs, each leg is done with the same piece of cord, threaded through each row, down to the bottom, and then back through each row up to the top of his legs where they will meet in the center and can be tied together less obviously. You can still adjust the tension between rows, straighten his arms and legs, or correct a bead that isn't sitting properly.

7. Tie the cords together securely with a surgeon's knot or a good double knot. Add a small drop of craft glue to the knot for a little extra security. Let the glue dry, then trim away the excess cord.

And there he is! Santa is ready for Christmas duty. Put him to work holding your keys, hang him from a backpack or zipper, add him to a Christmas package, or forget the keys altogether and give him a place on the Christmas tree.

The diagram below uses blue and green to make the two ends of the cord easier to follow as they travel through the beads. Don't let the number of lines intimidate you. Follow one row at a time and use the colors to keep track of which cord goes where. Click the diagram to open a larger version whenever you need a closer look.
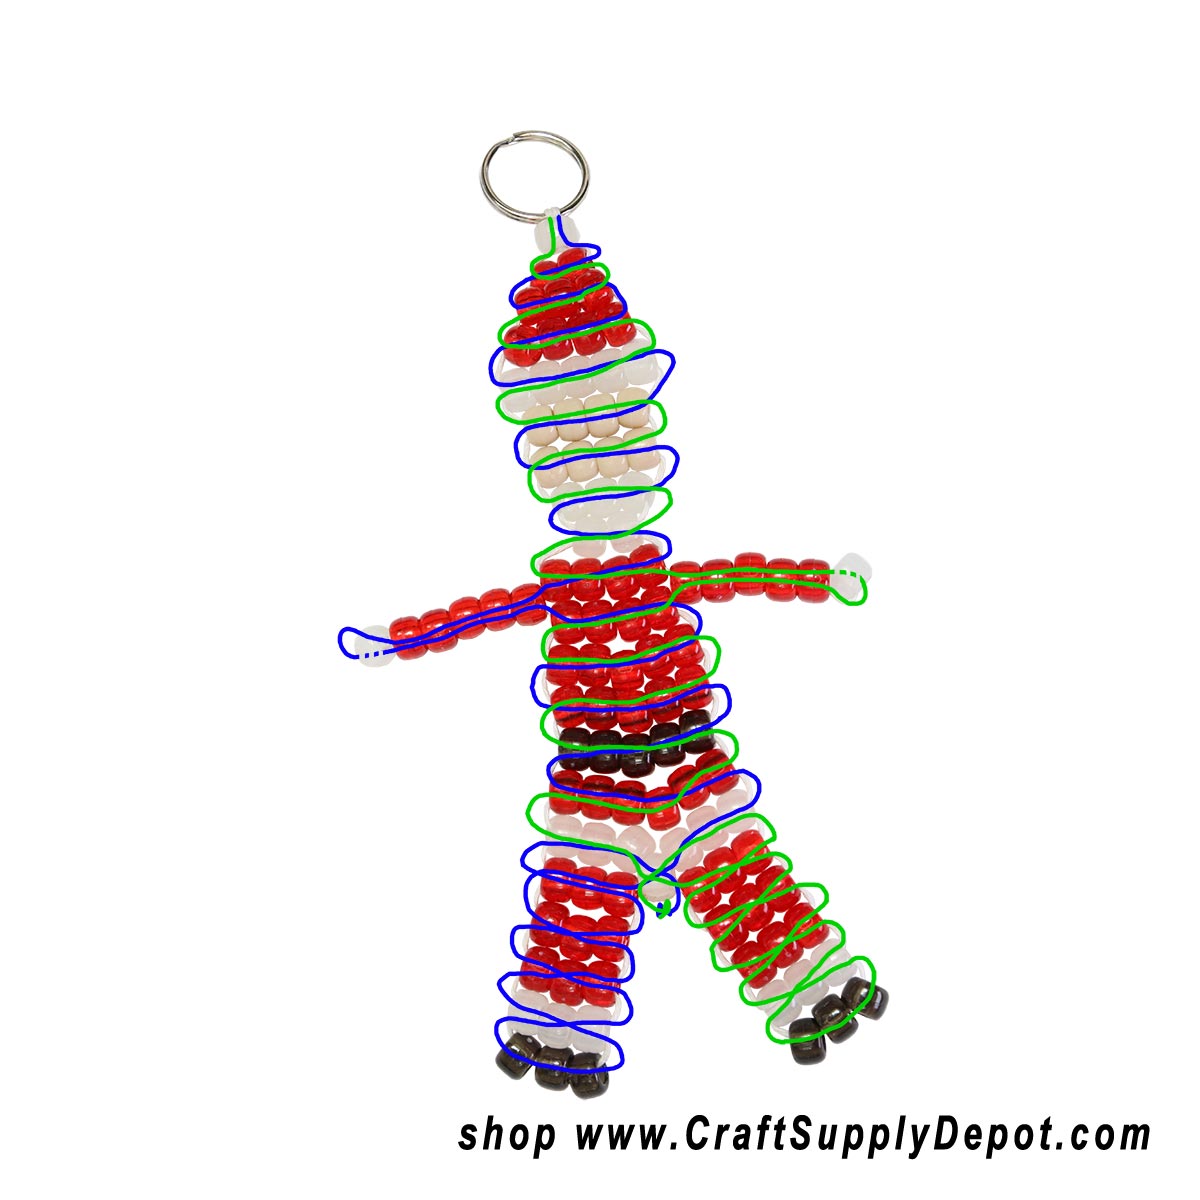
Pony bead Santa keychain pattern showing how to weave the cord through each row of beads.

https://www.bjcraftsupplies.com - Every Pattern Deserves a Few Beads at the End
 
 
A Little Help Keeps the Patterns Coming!
The advertising on our pattern pages helps pay for maintaining our collection and adding more free patterns. If you spot an ad that interests you, please click a look! Your help supports the collection and keeps more free patterns coming. More patterns for you, a little help for us. We think that's a pretty good trade!


Still in the Mood to Make Something?
Browse even more free craft ideas and patterns at
You never know what might catch your eye!


Pin It On Pinterest


Click to verify BBB accreditation and to see a BBB report.


© Copyright, 1994-2026, BJ's Craft Supplies, sister site to Craft Supply Depot, All rights reserved, BJ's Craft Supplies.   661 Abrameit Rd, Goliad, TX  77963.
Click our phone number to call us at (361) 645-3325          p0166